How to Build an Online Store with WordPress & WooCommerce

Whether you’re a small business owner or entrepreneur looking to start selling online, building an ecommerce store with WordPress and WooCommerce is a great option. In this step-by-step guide, I’ll walk you through exactly how to set up and customize your online store, even if you have no prior experience.
Woocommerce supports physical products, and you can add additional plugins for shipment tracking. You can also sell digital goods with secure delivery after payment confirmation. WooCommerce also allows you to bundle products for sale.
There is also available a wide range of payment gateways available, being PayPal and Stripe among the most popular ones. Also, bear in mind that being open source, you can always extend the software.
1. Installing WooCoomerce
As a starting point for this tutorial, I assume that you already have a clean installation of WordPress, as I explained in the post “Professional WordPress Setup in AWS Lightsail From $6 per Month”.
To install WooCommerce, log in to the WordPress dashboard, and perform the following steps: From the side menu, select Plugins, Search for WooCommerce under plugins in your admin menu:
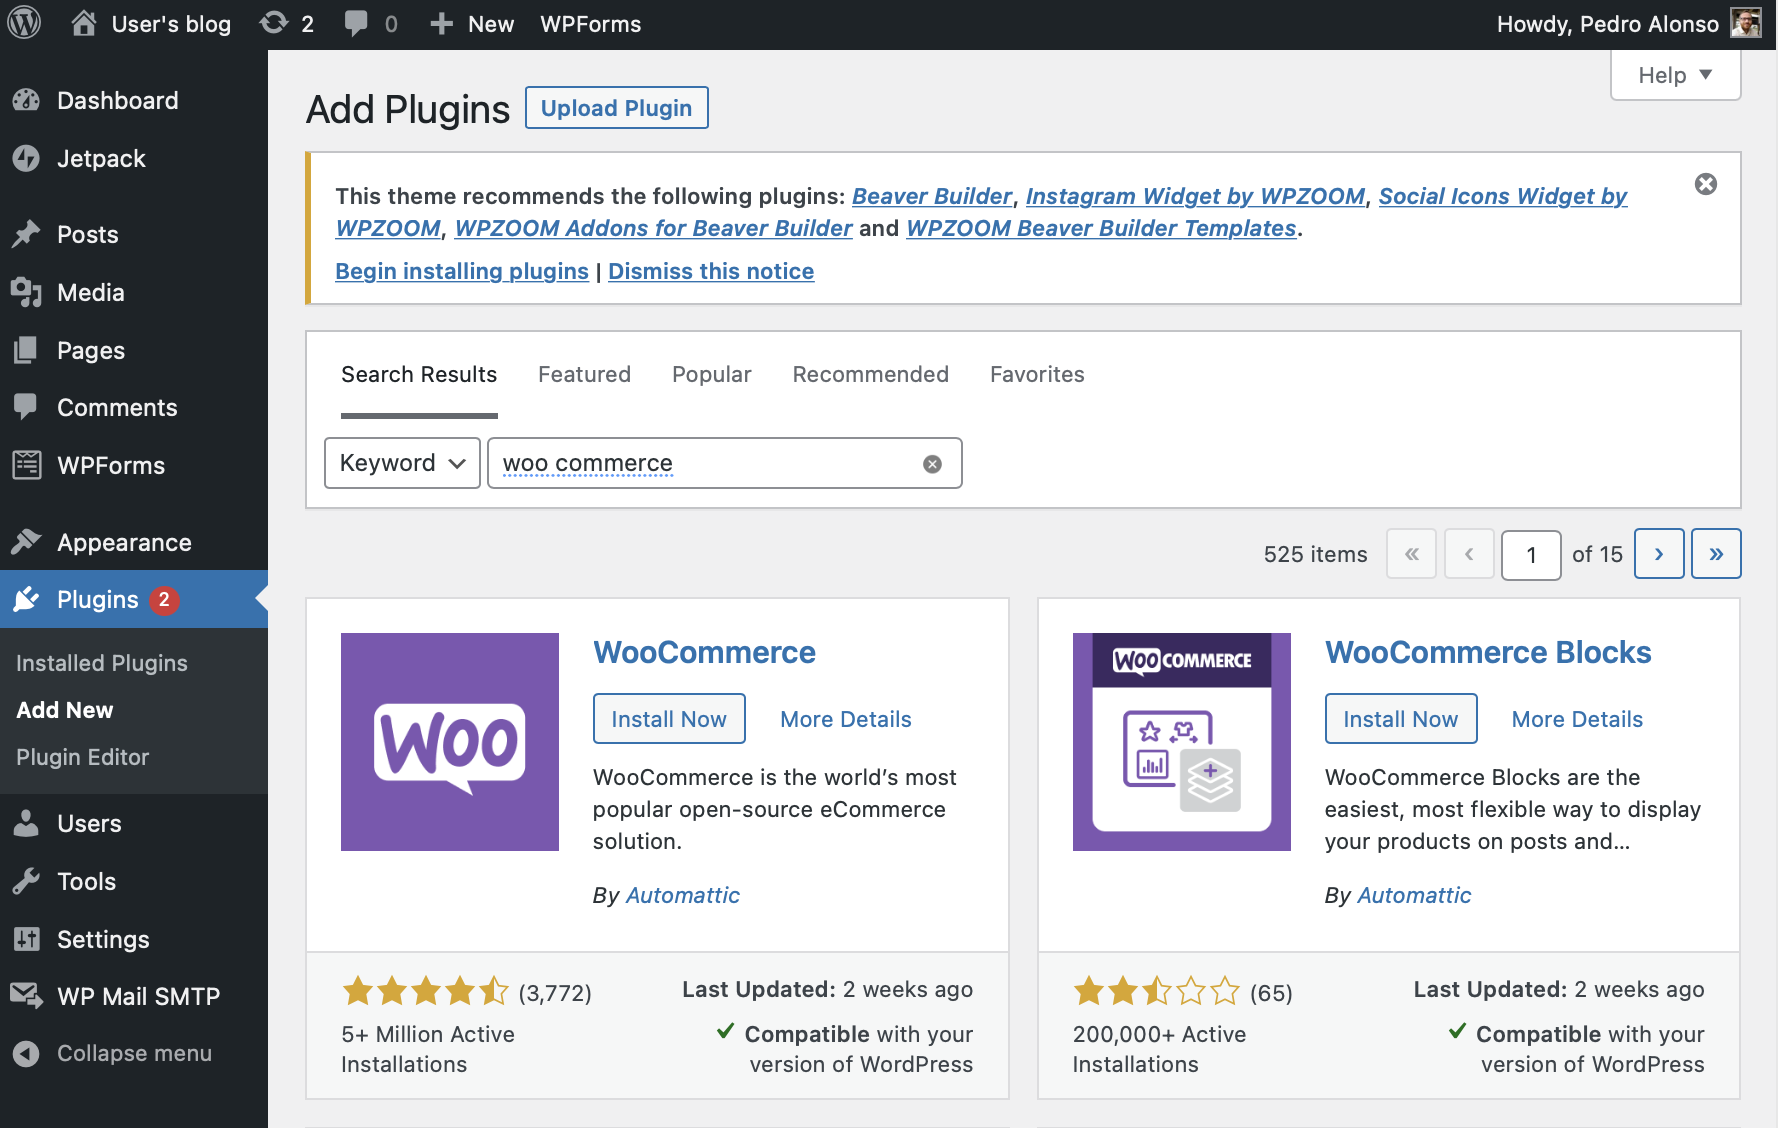
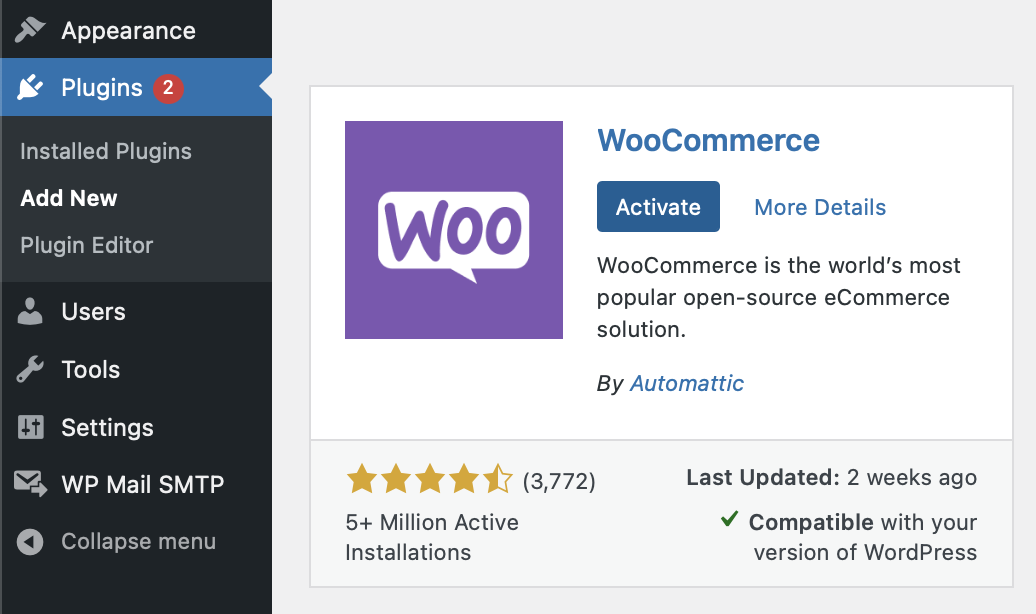
Click “Install Now” followed by “Activate”. Next, we get the welcome wizard, which will help you configure the main settings to get up and running. You can modify what you enter in the wizard later on if you need to.
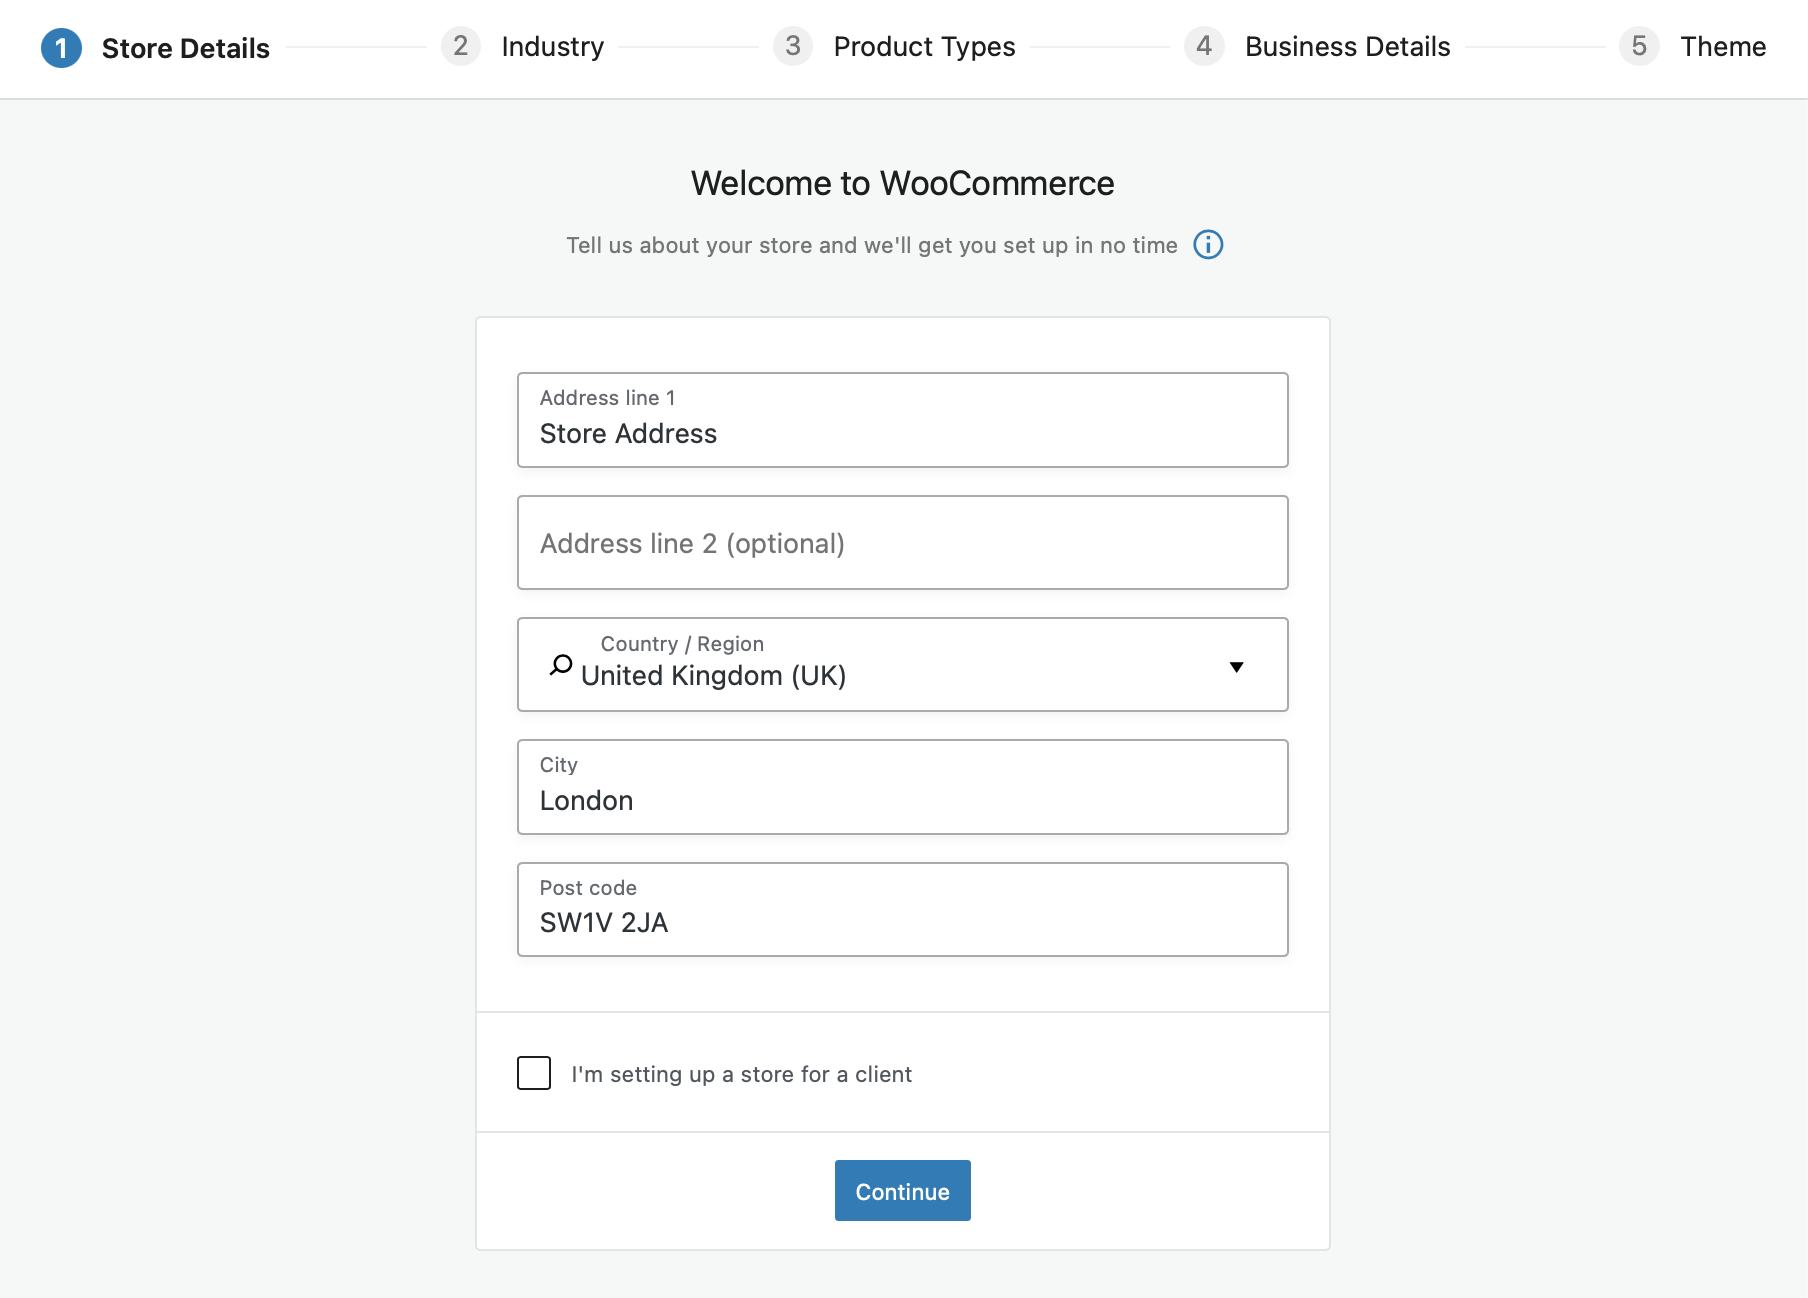
In the first screen of the wizard, enter the address for your store.
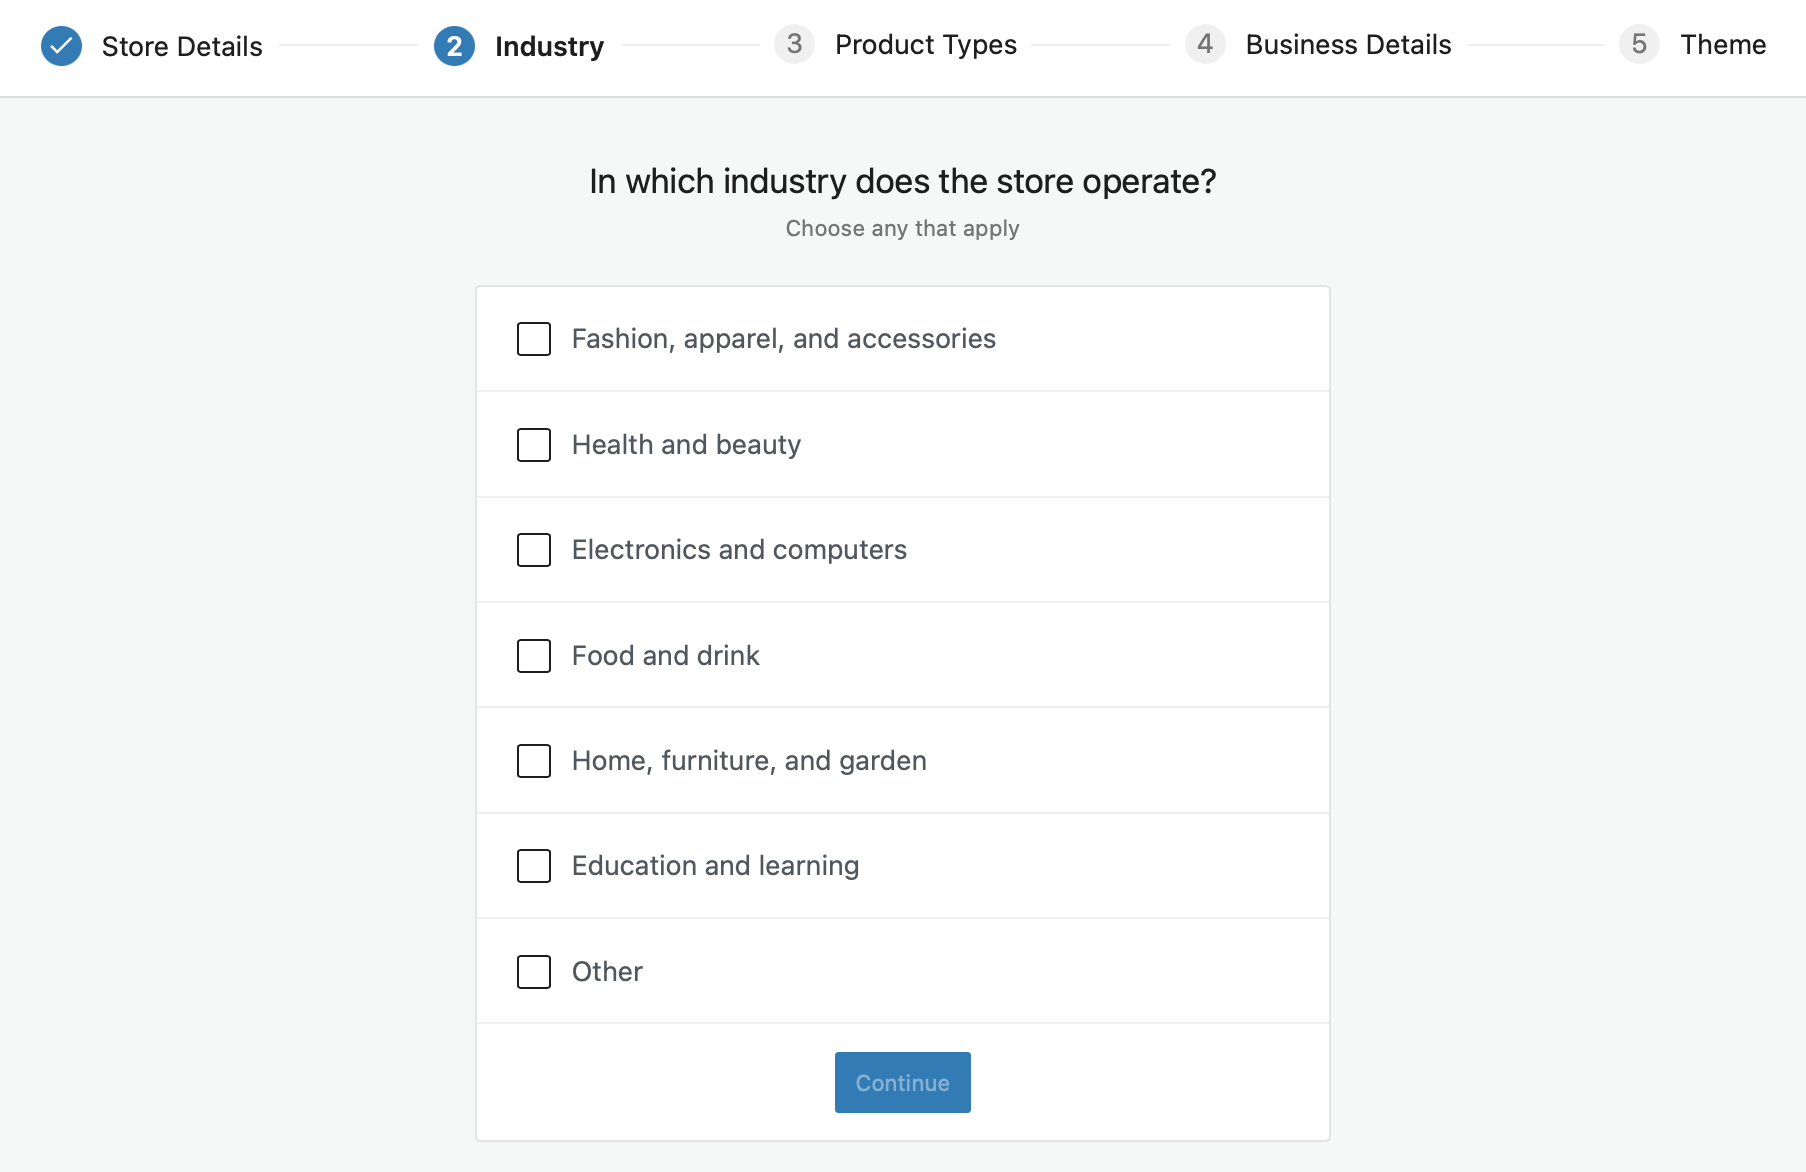
Next, select the industry, used mainly to make intelligent guesses on the wizard configuration.
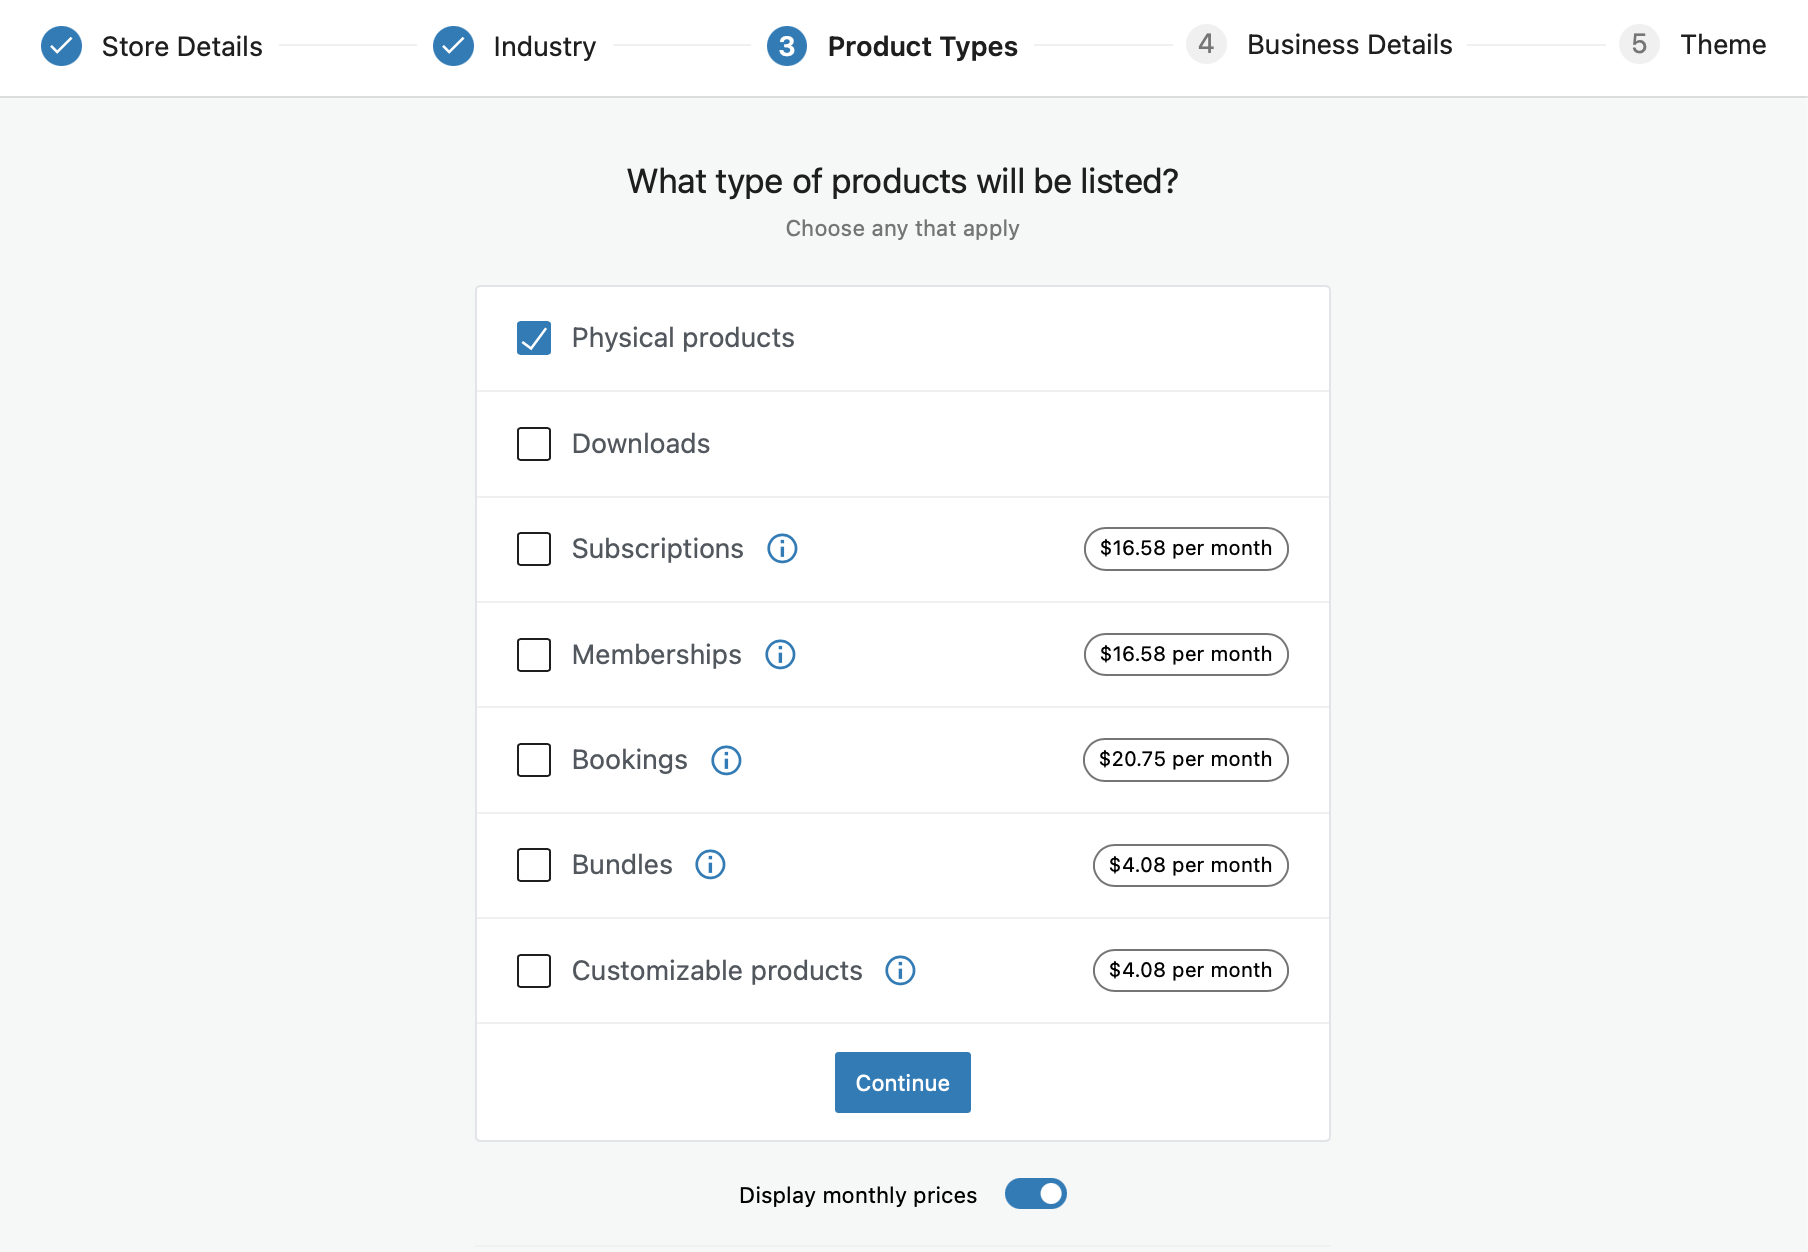
This step is important as you select which type of product you want to sell. I’ll explain in more detail below what each type of product is. For now, I’m only selecting “Physical products”.
This step is to offer importing tools if you are migrating a store from a different platform. Otherwise, click Continue.
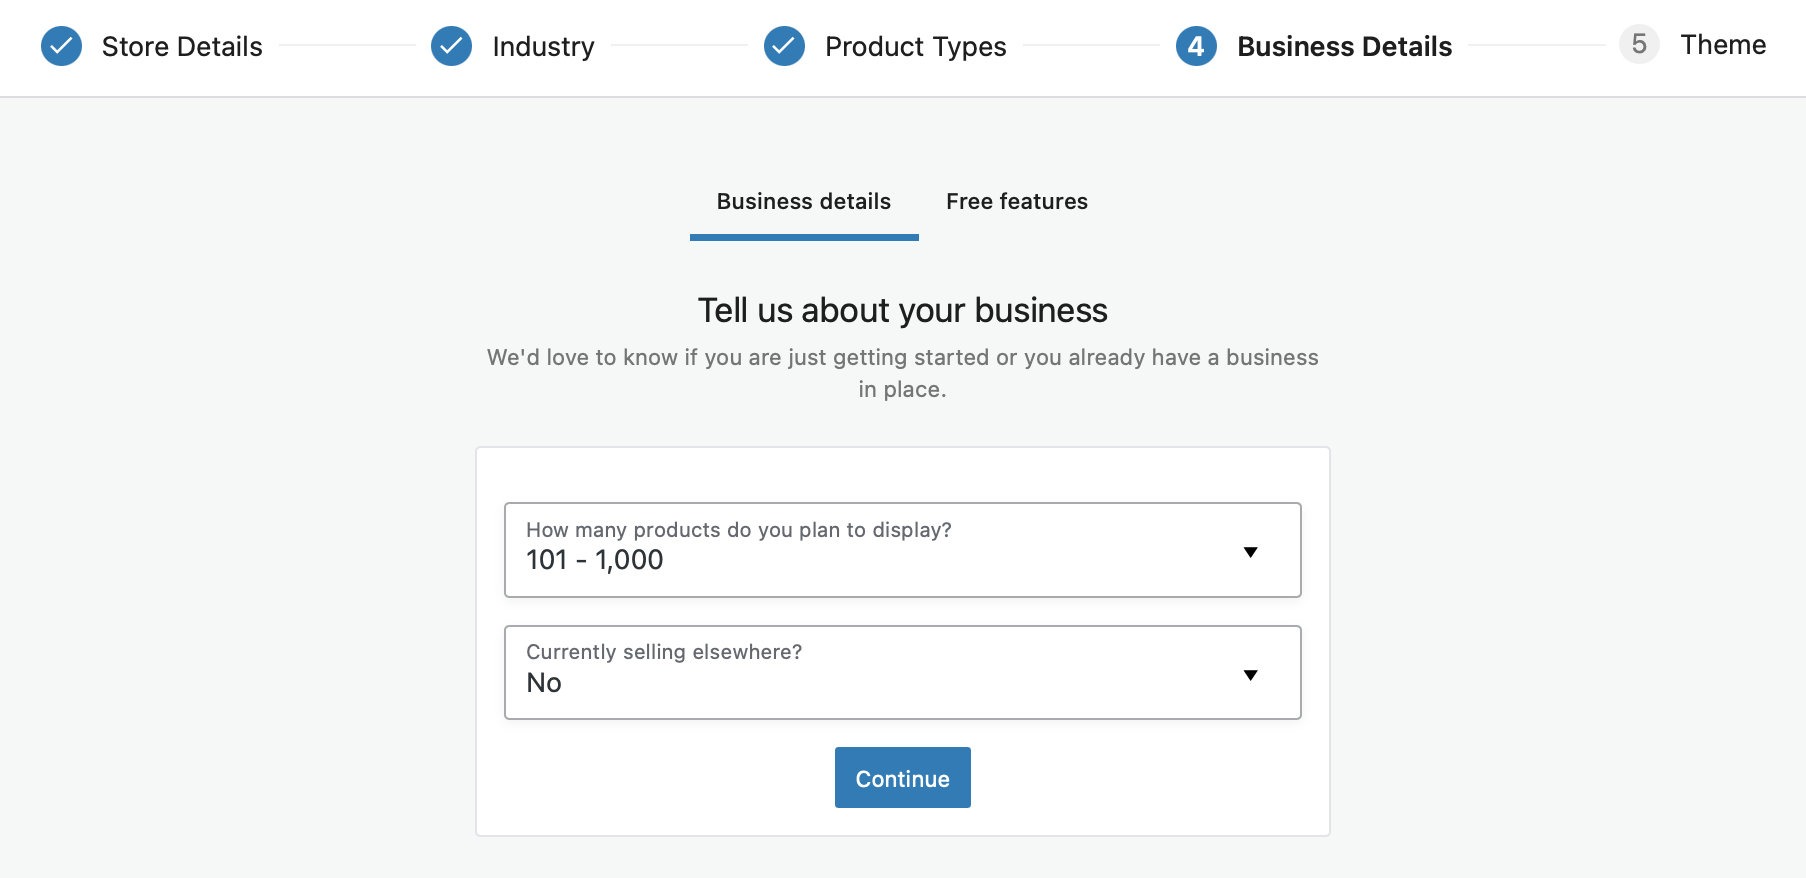
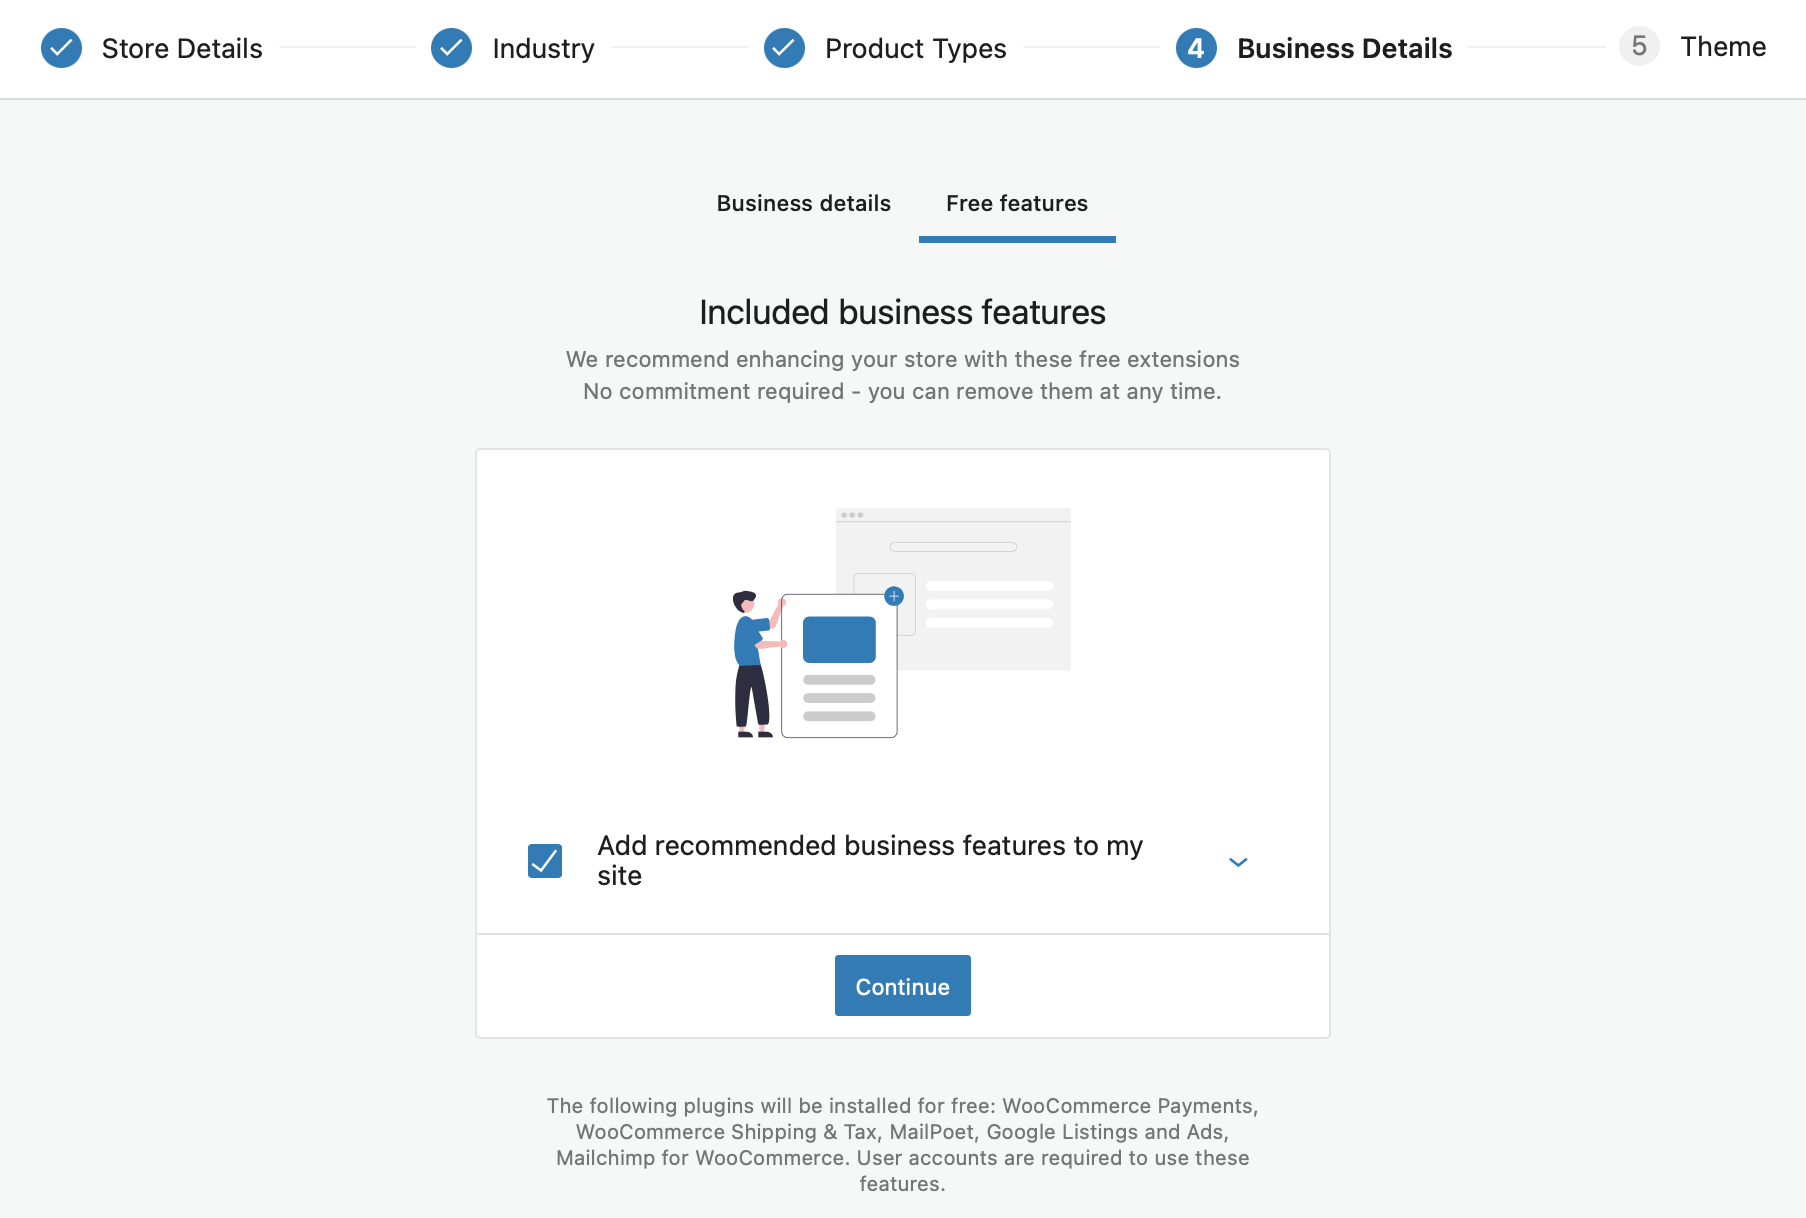
Here you can customise some of the plugins that will be installed for your store based on your needs. You can always install more plugins later.
The last step is theme selection. I’m choosing Storefront, and activating it.
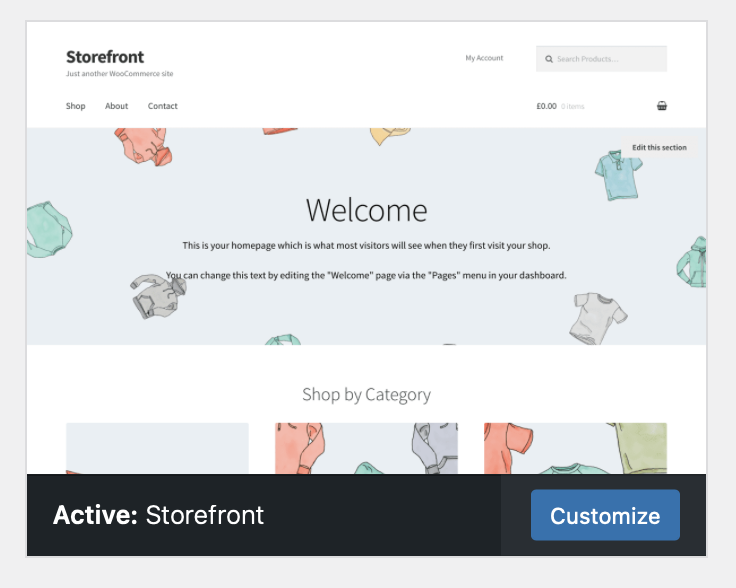
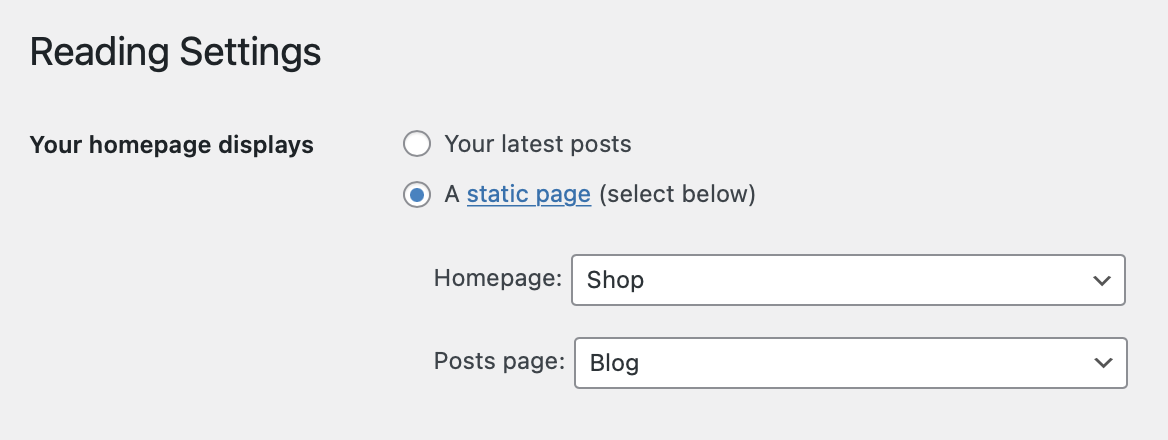
Now, from Settings -> Reading, I’m setting the shop page to be the home page of my website.
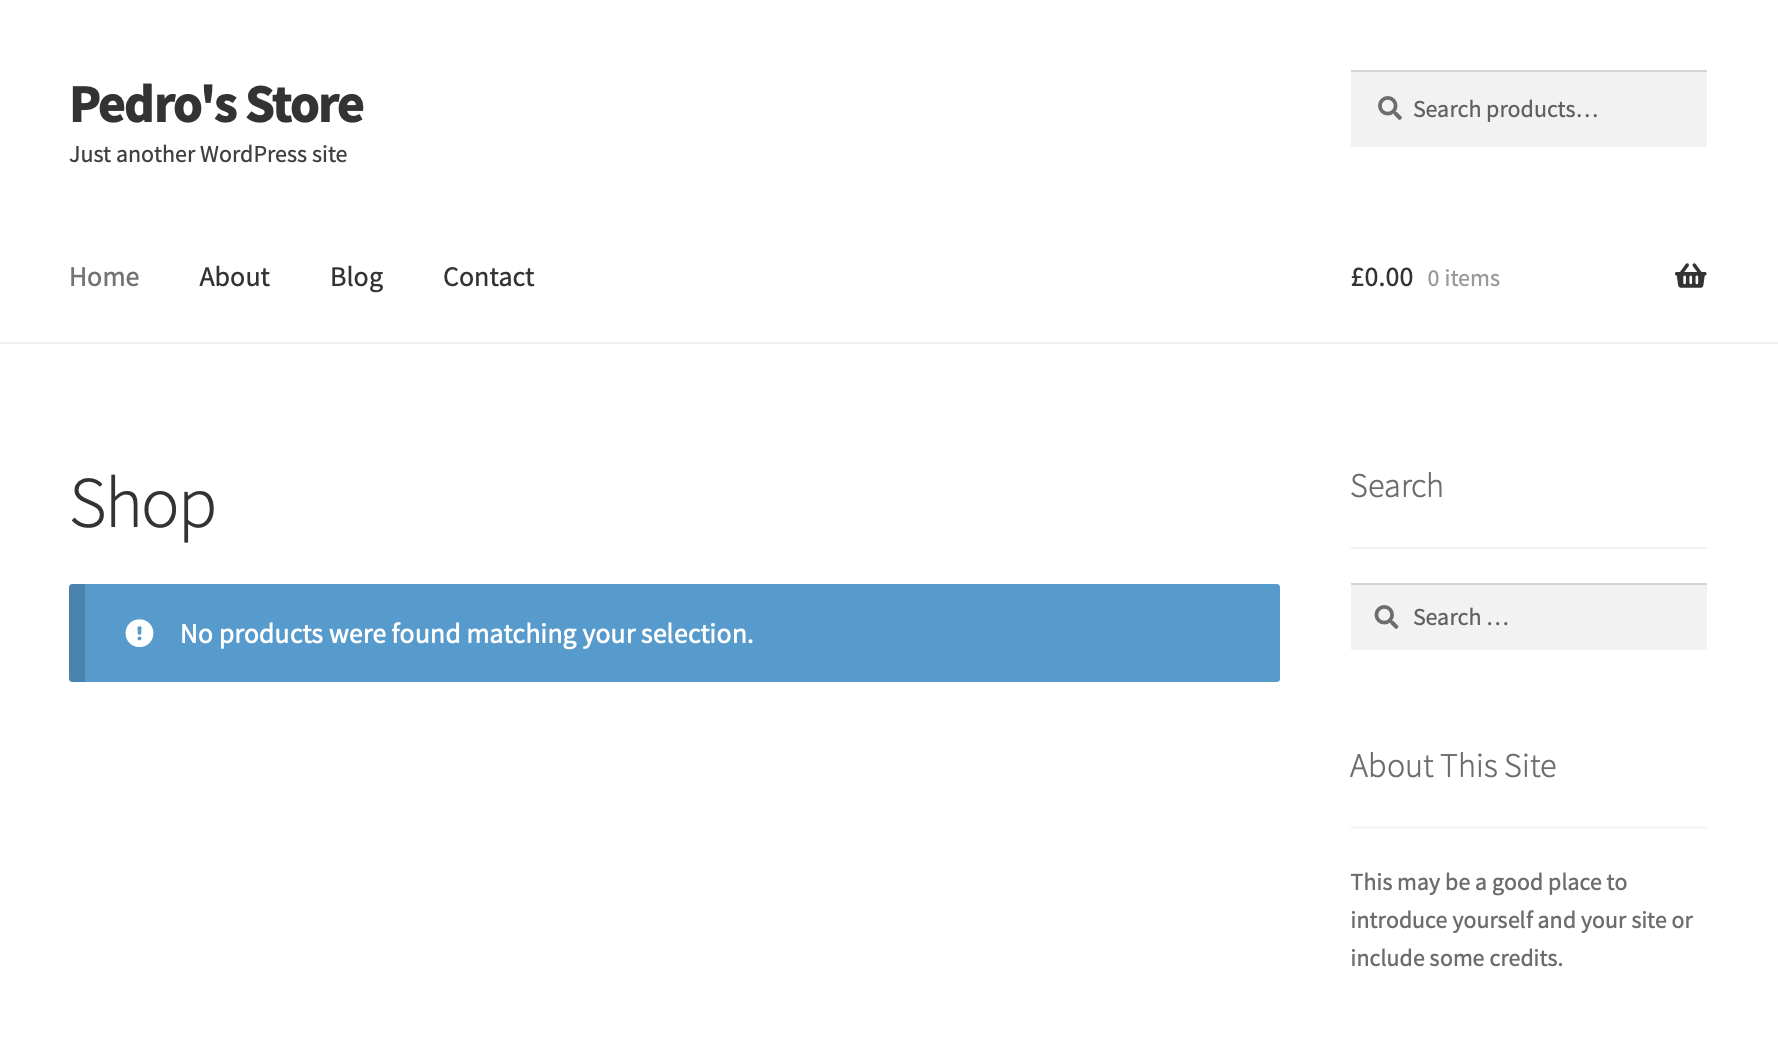
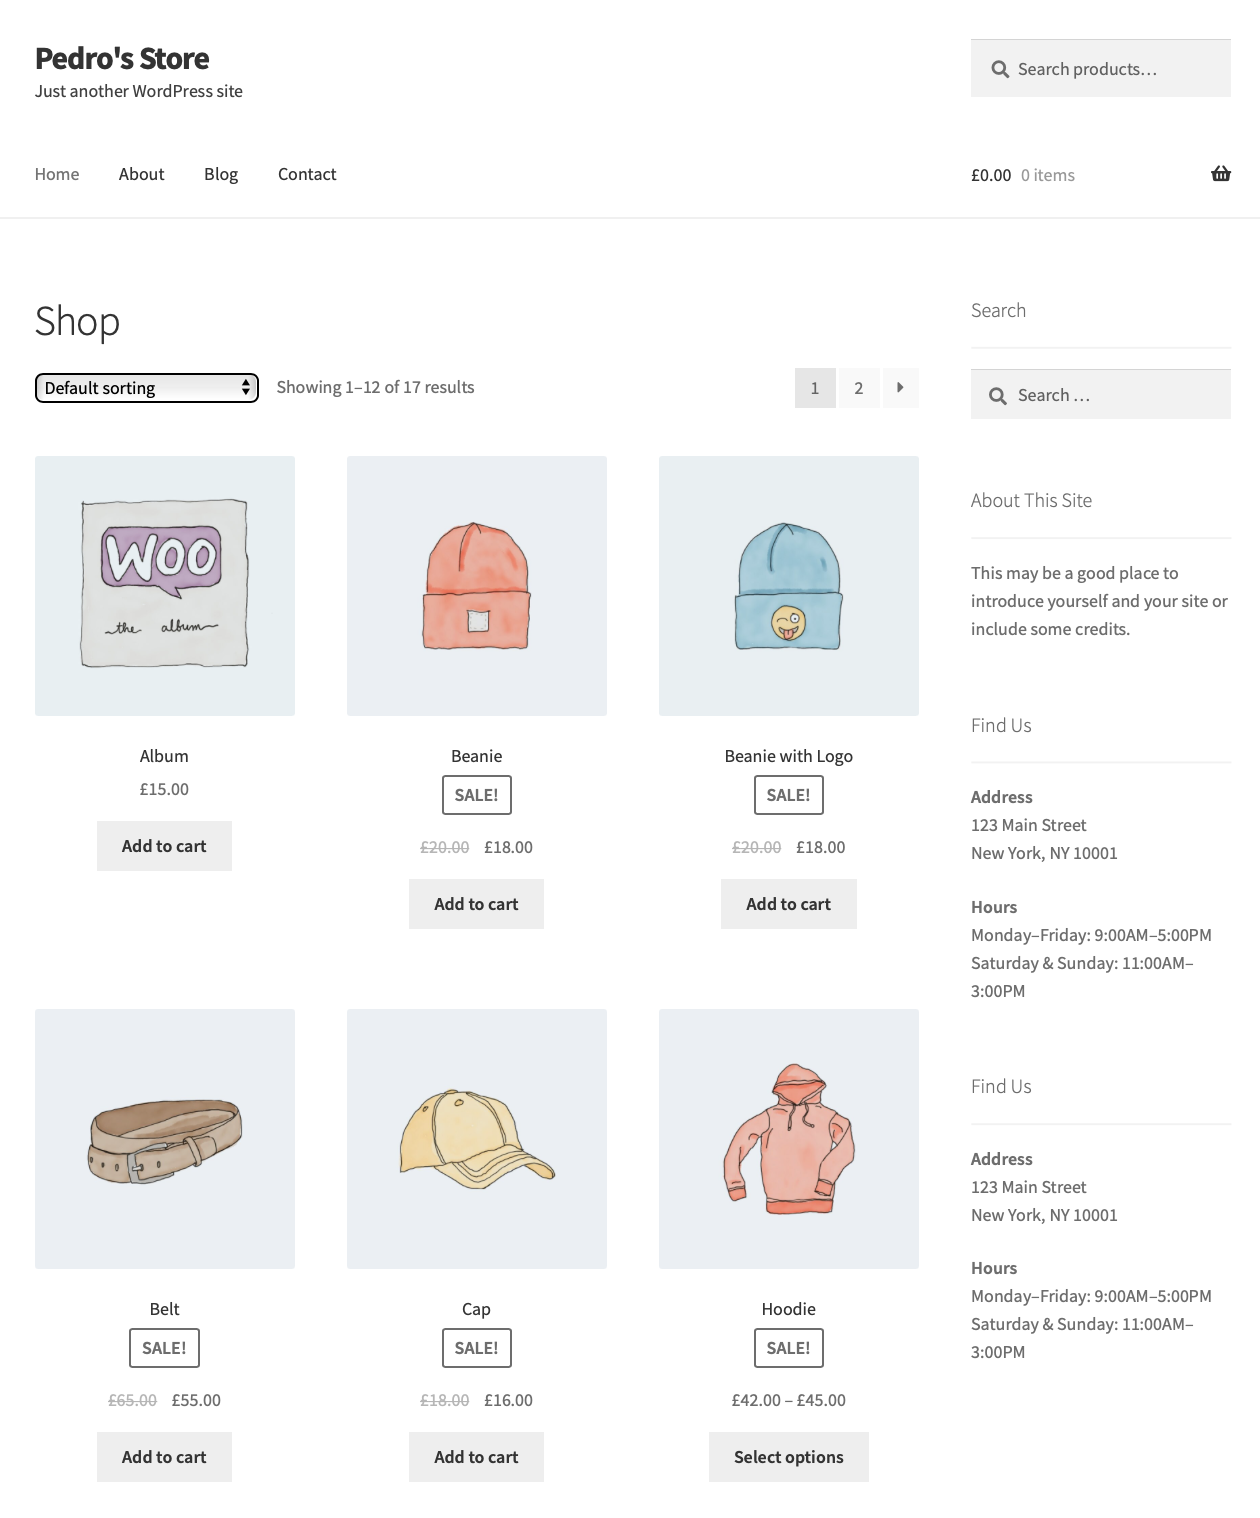
Navigate to the actual website, and you will see a similar store to this one :tada: but we still need to create or import some products.
Importing Sample Products
The store looks empty right now, as we don’t have any products, orders, etc. It’s good that we are not getting a bloated store by default, so you can create the products you need for your store. I will import some sample data provided with WooCommerce in the folder woocommerce/sample-data. I can download the file via SFTP, or re-download WooCommerce, unzip it and get the sample data import file.
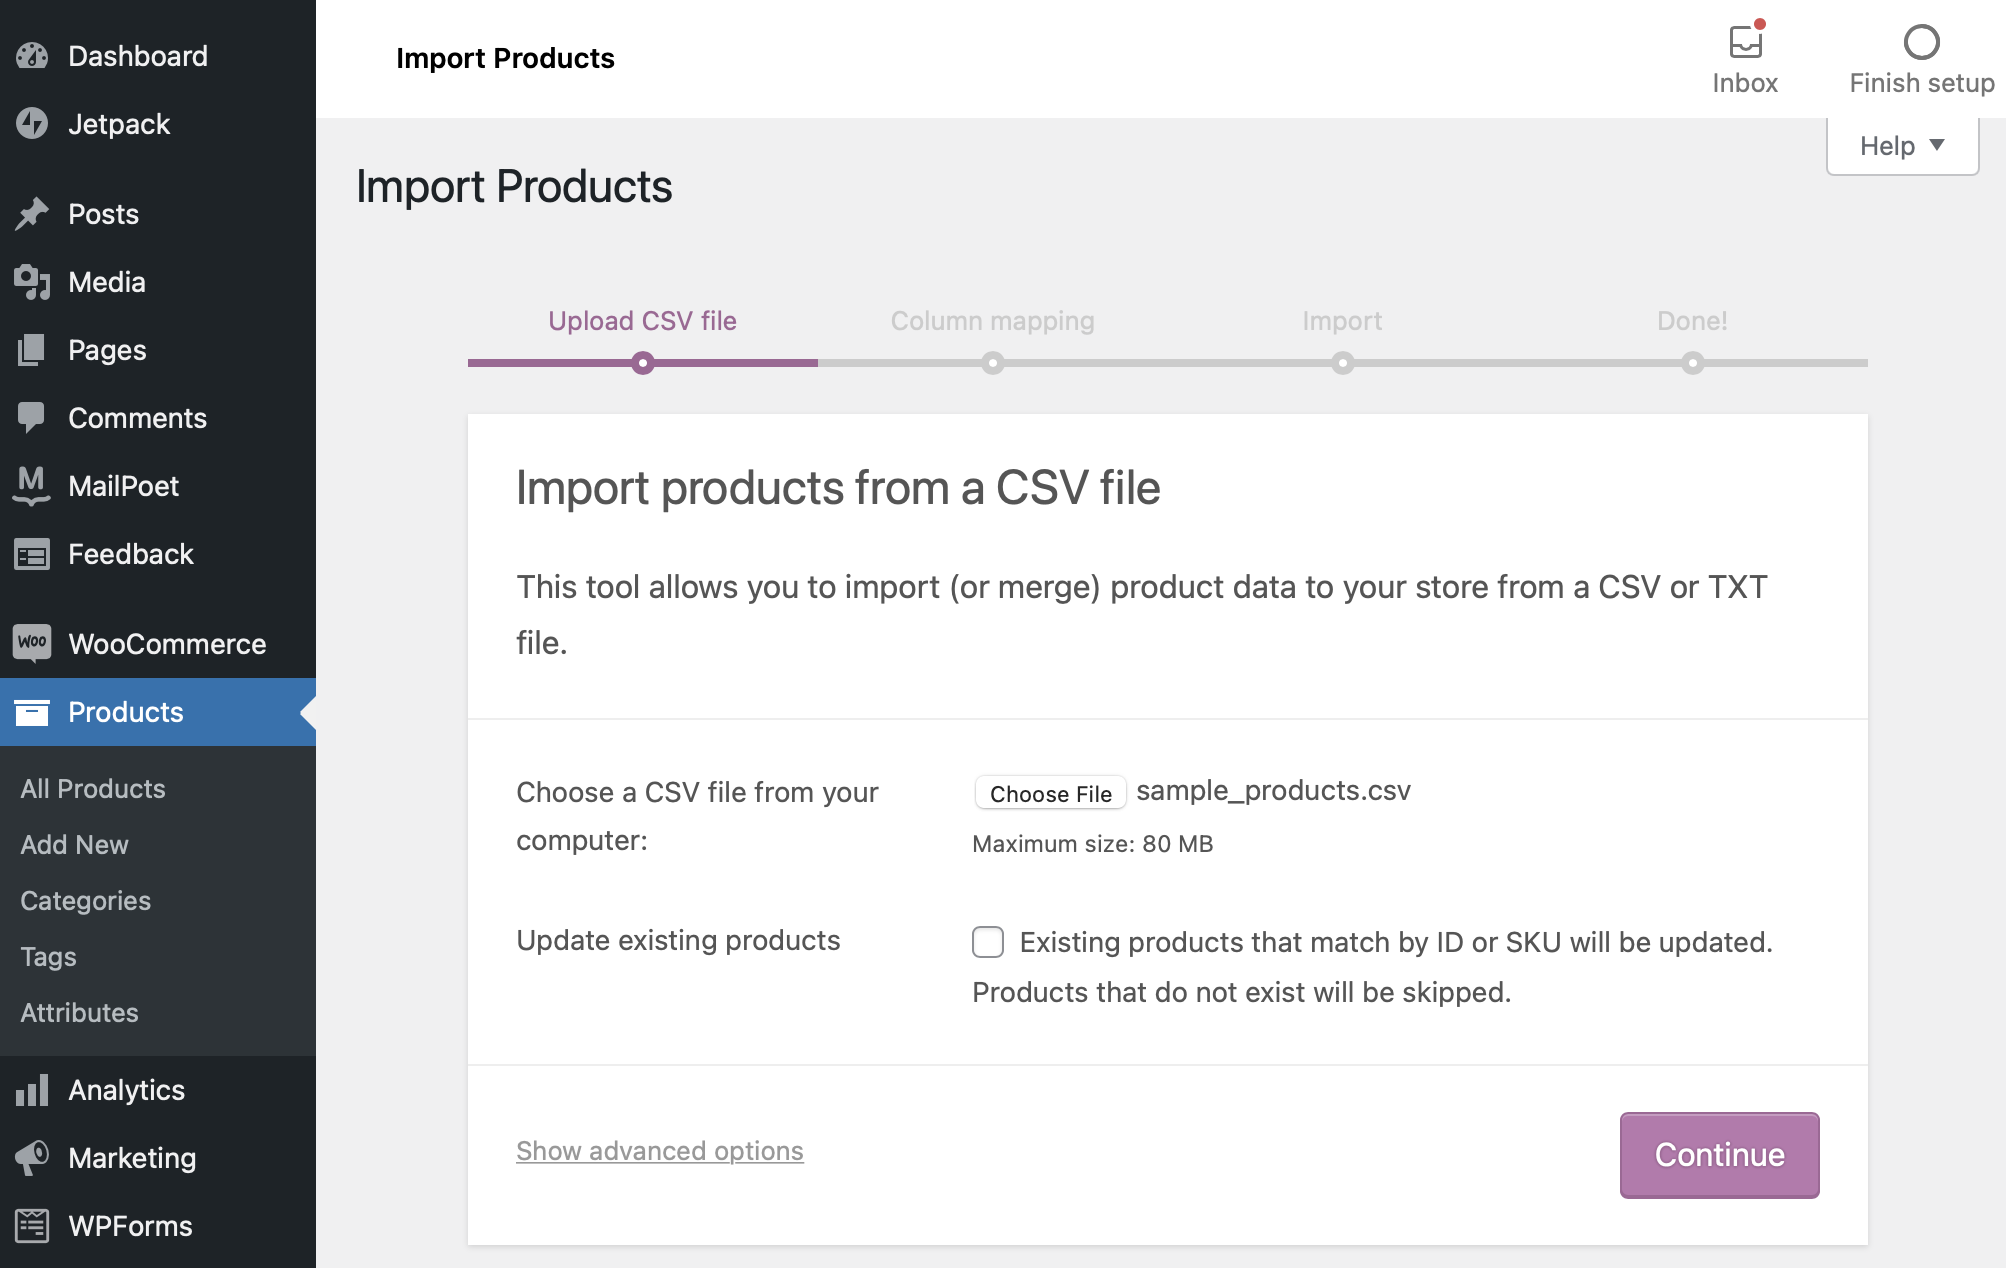
Once you have the sample data downloaded, to import it, select Products -> All Products -> Import. You will see the first step of the wizard. Select the sample_products.csv file from the WooComerce folder that you downloaded, as you can see in the screenshot, and click Continue.
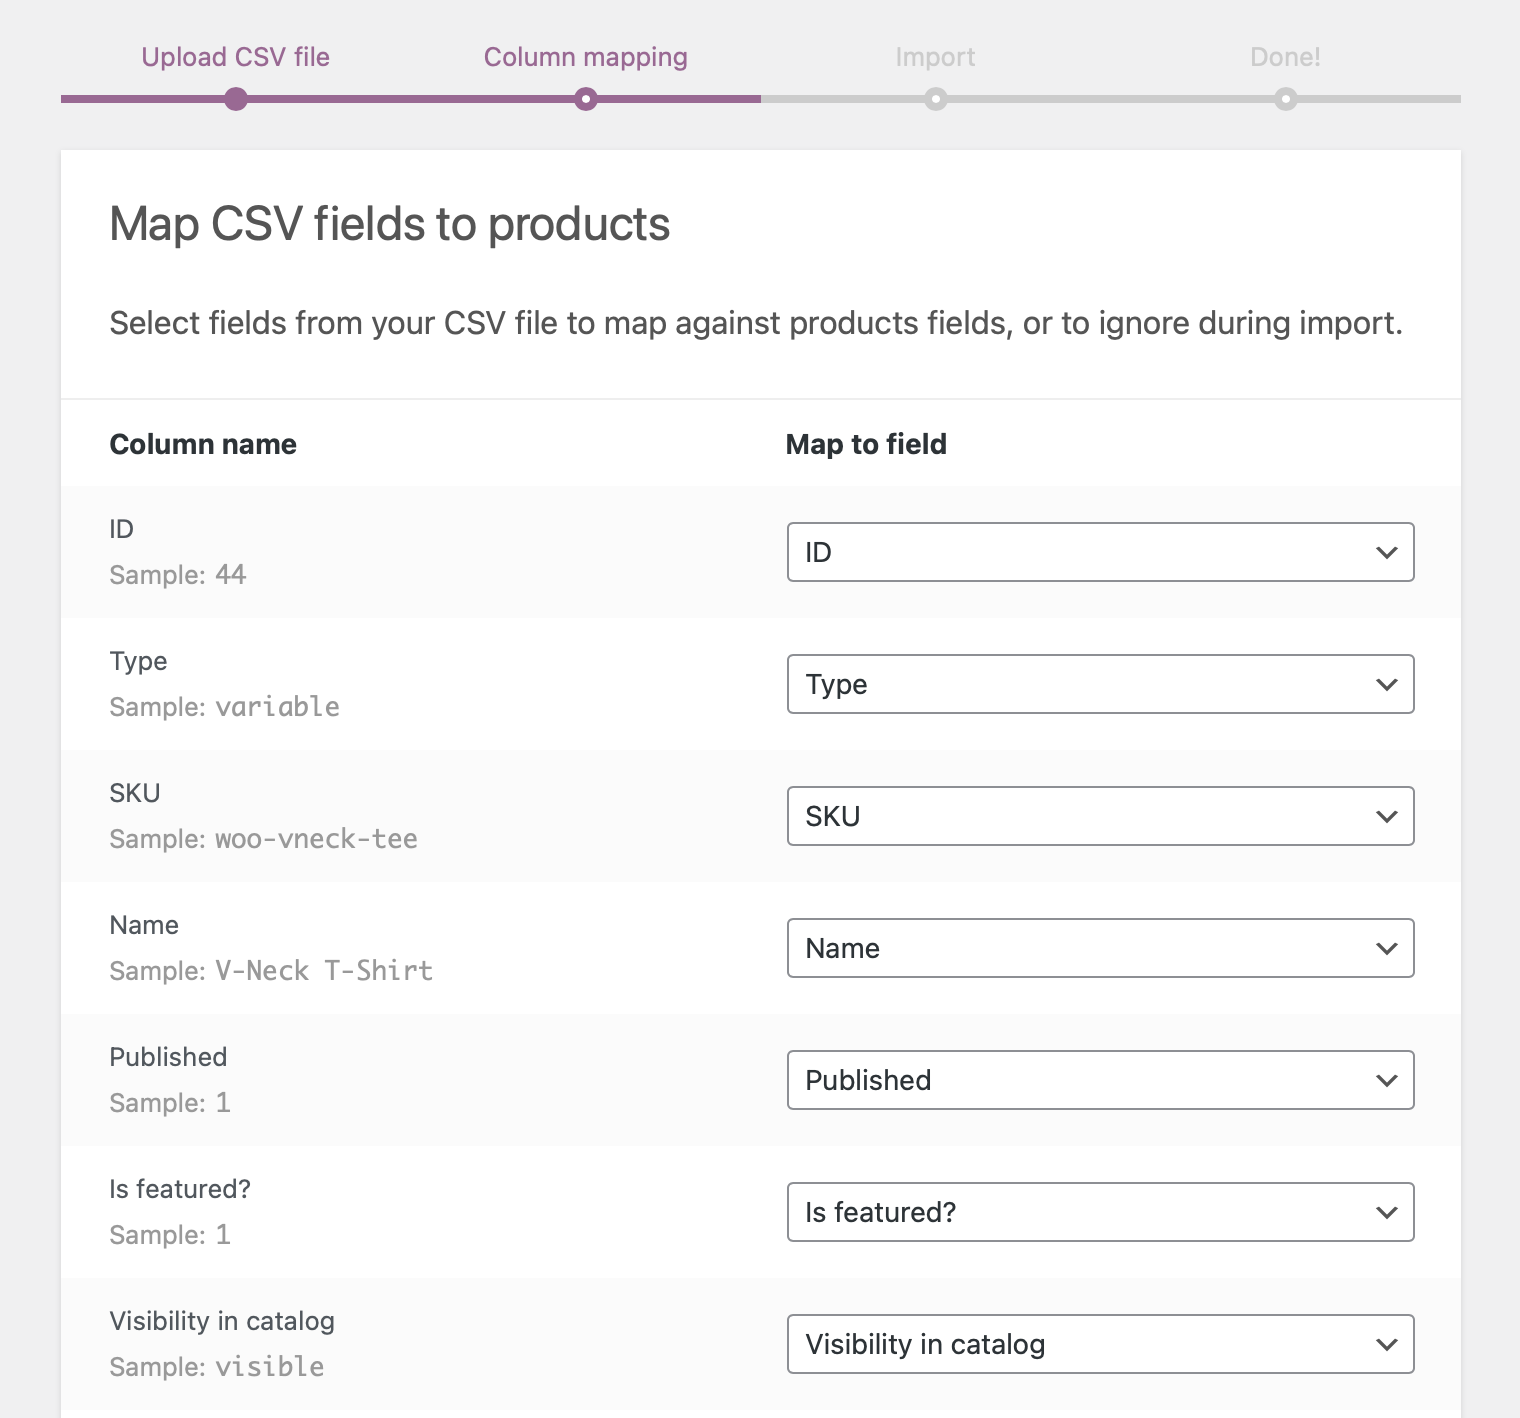
In the second step, you get a form to customise the columns from your CSV file to the product fields in WooCommerce. This step is helpful if you’re exporting from a different platform, and maybe the names don’t match, or you don’t have all the fields that a product can have in WooCommerce. Using the sample data from WooCommerce, I have a perfect match for the fields imported and populated correctly. So I scroll to the bottom and click “Run Importer”. You will see a progress screen while the Import process runs, and it will take some time, depending on the number of products you are adding.
Once the importer it’s finished, you can see all products in Products -> All Products. And if I recheck the website, I can see on the homepage that it is also populated now.
2. Configuring Products
You can’t have an online store without something to sell. Before we can sell something, we have to add products to our store. But before we do that, we have to know the different kinds of products you can add to your store.
2.1 Simple Products
The most accessible type of product to create is unsurprisingly called a simple product. It’s essential to know how to create a simple product because everything else builds on it. So, you’ll want to know precisely how to manipulate a simple product. An excellent example of a simple product would be anything that comes in one format, like a bag, a candle, etc.
You can add a new product from your Dashboard under Products -> Add New menu. The only required field for a product is the Product name (also known as the title). You can also add a price to the product. It can be 0 or any positive value. And as soon as you add a price, users can add it to their cart.
2.2 Variable Products
Simple products such as coffee cups and baseball caps are great, but many products have some variations. Clothes come in sizes and colours. For these types of products, we have variable products.
The way it works is that we create attributes on which we want to create product variants. In our clothing example, it could be colour and size. Then we can add different images and stock for each item variation. More details on the specific steps are in the official documentation.
2.3 Digital Products
WooCommerce also allows you to sell downloadable files and virtual products such as memberships. For this, WooCommerce lets you modify a product and give it additional settings. Digital products aren’t a different type of product (simple or variable)—they’re a modifier: something you can add to your simple or variable product. And the new fields will appear in slightly different places depending on the type of product.
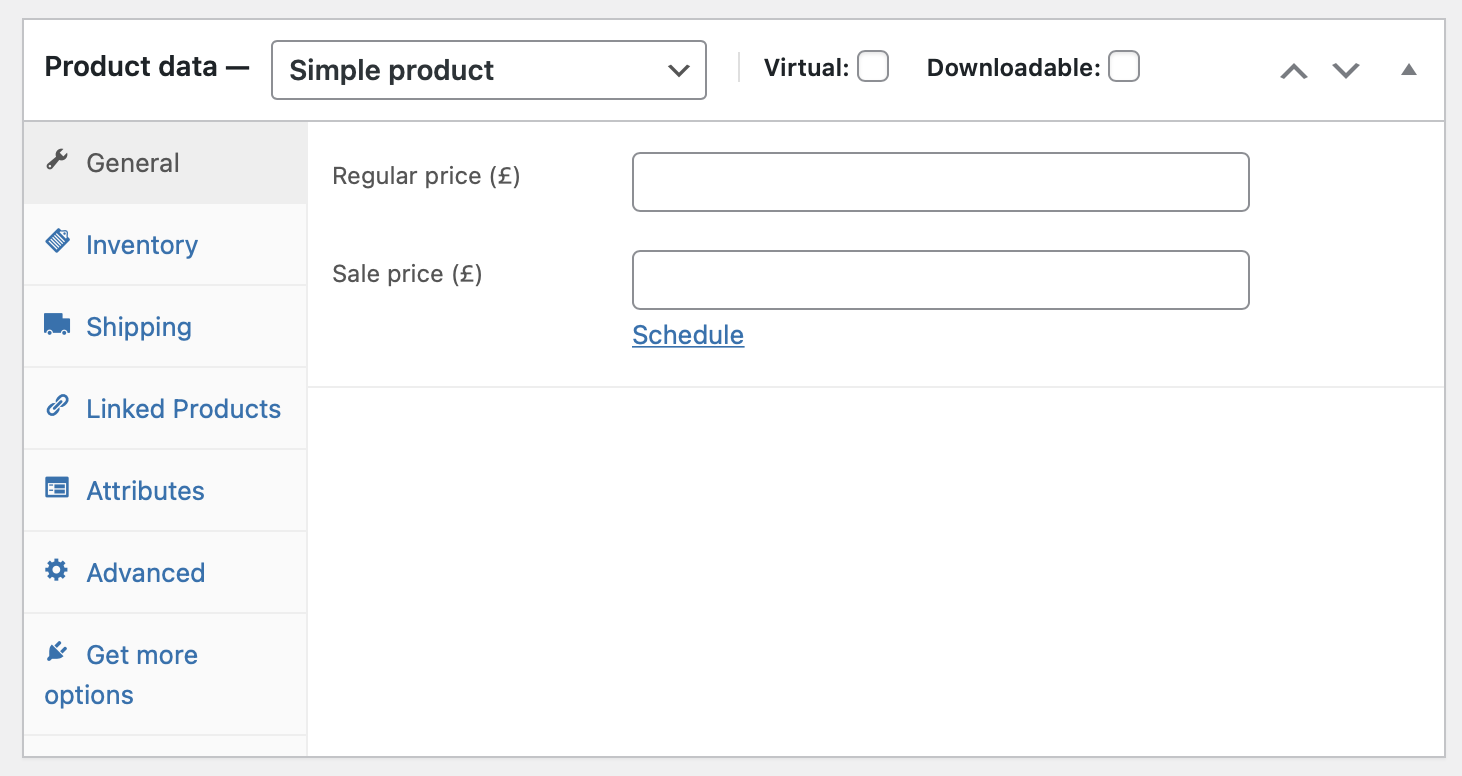
As you can see in the screenshot above, you can make a product “Virtual” and/or “Downloadable”. The difference is that a Virtual product has no physical presence. Therefore, it won’t be shipped and the shipping tab will disappear. And if an order contains exclusively virtual products, the customer will skip the shipping section of the checkout. On the other hand, Downloadable means the product has downloadable files. There will be additional fields for the downloads. And the customer will automatically be emailed these files after payment is complete.
Something to keep in mind is that a product can be downloadable but not virtual. For instance, if you have a physical product and want to give a downloadable file as a gift to your customers on purchase, you need shipping details and keep inventory for the physical part of your “bundle”.
2.4 Other Products
WooCommerce also offer a couple of premium plugins in order to create Product Bundles, which lets you create a group of your existing products and you sell them as a group. They also support Product Subscriptions with all sorts of advanced features, such as pausing subscriptions, prorating subscriptions, synchronized payments. But I won’t go in detail about these premium plugins in this tutorial.
3. Payment Gateways
A payment gateway is a plugin for WooCommerce that allows customers to pay for goods and services using a payment system. They all require an account with the company providing the payment processing capability. i.e - PayPal, Stripe, Braintree, etc. I am going to explain to you how to set up PayPal and Stripe here. You can take payments for products or even set up subscriptions depending on the type of product you want to offer, although to enable subscriptions in WooCommerce, you have to rely mainly on premium plugins.
3.1 PayPal
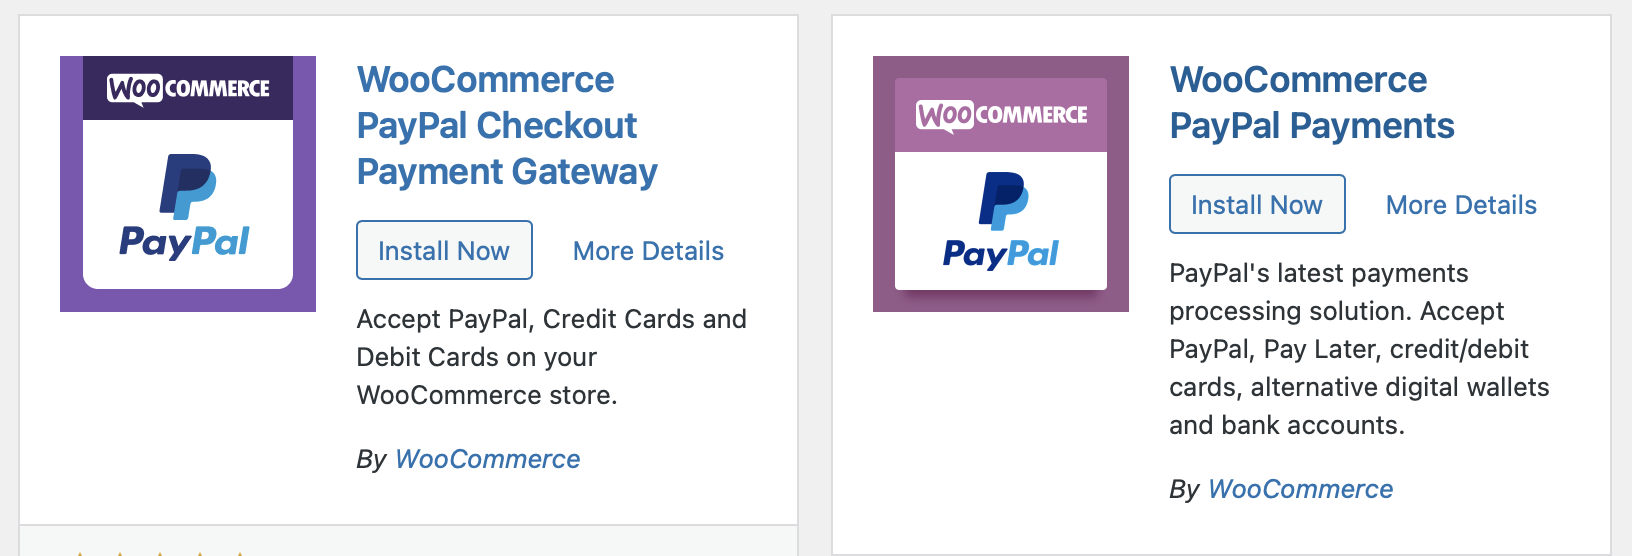
To add PayPal as a payment option, you first need a PayPal Business account. It is straightforward to create one. To enable it, from the Dashboard menu, select Plugins->Add New, and search for “WooCommerce PayPal Checkout”, click on Install Now, then Activate it.
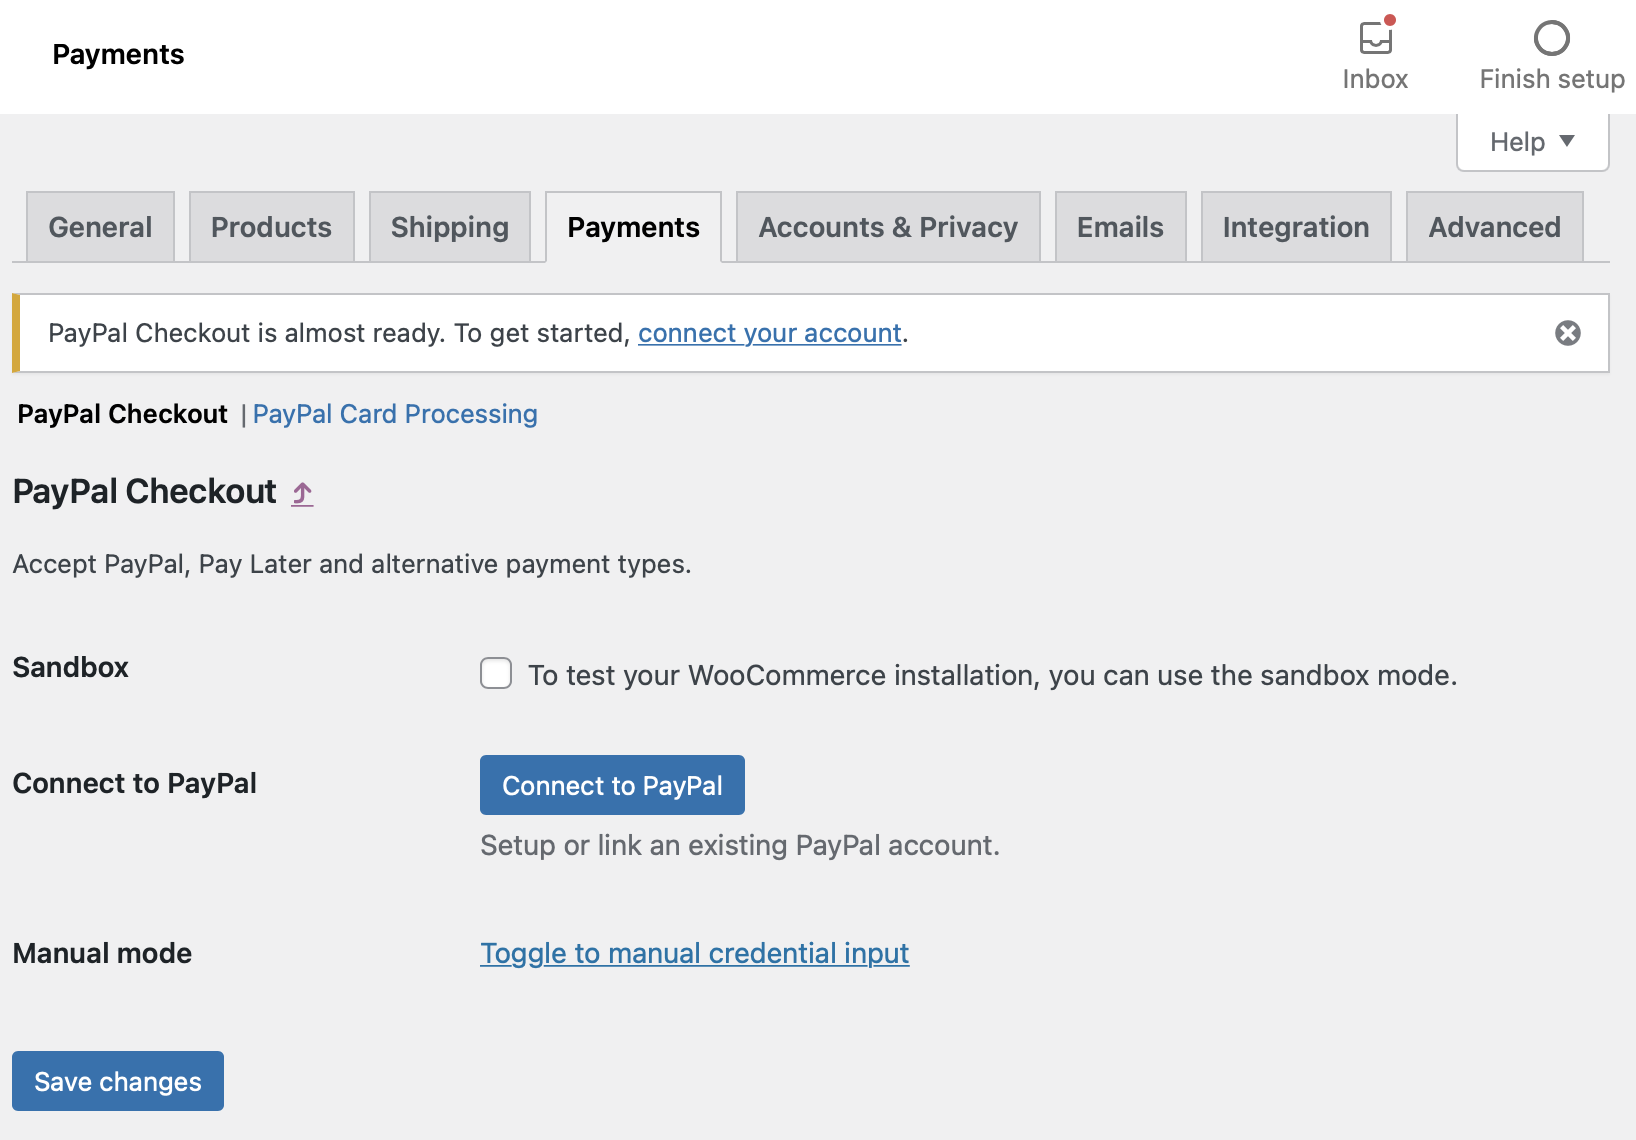
After the plugin is installed, you have to connect it to your PayPal account by clicking on Connect to PayPal.
You will get a modal window requesting you to enter your registered PayPal email address and country. Fill it in, then click Next.

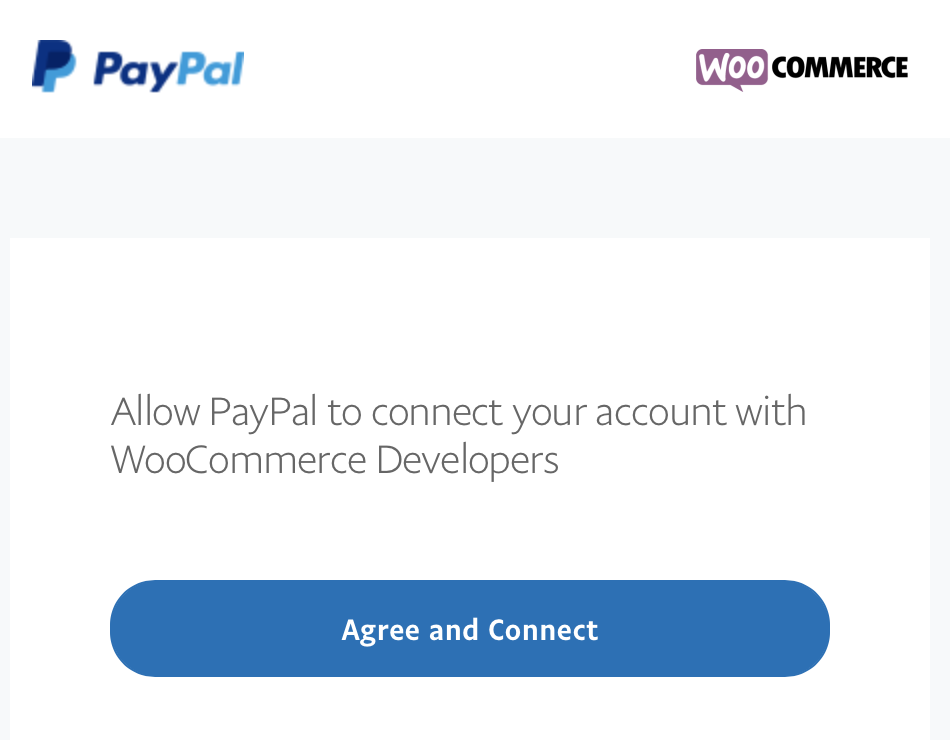
Accept the permission prompt to connect your store to PayPal.
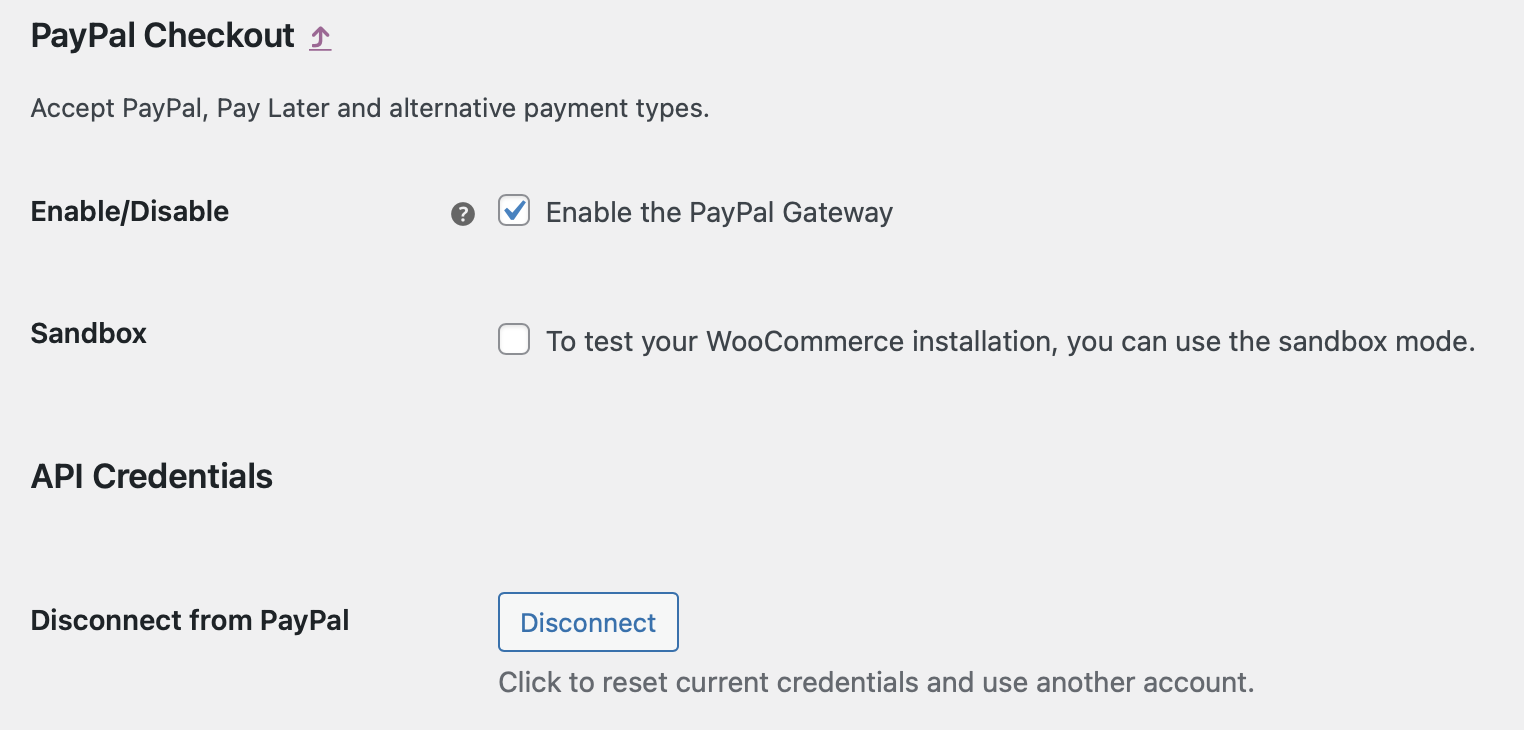
Now you can enable PayPal to be your store default payment method. You can customise more settings like PayPal buttons, colours, locations, etc.
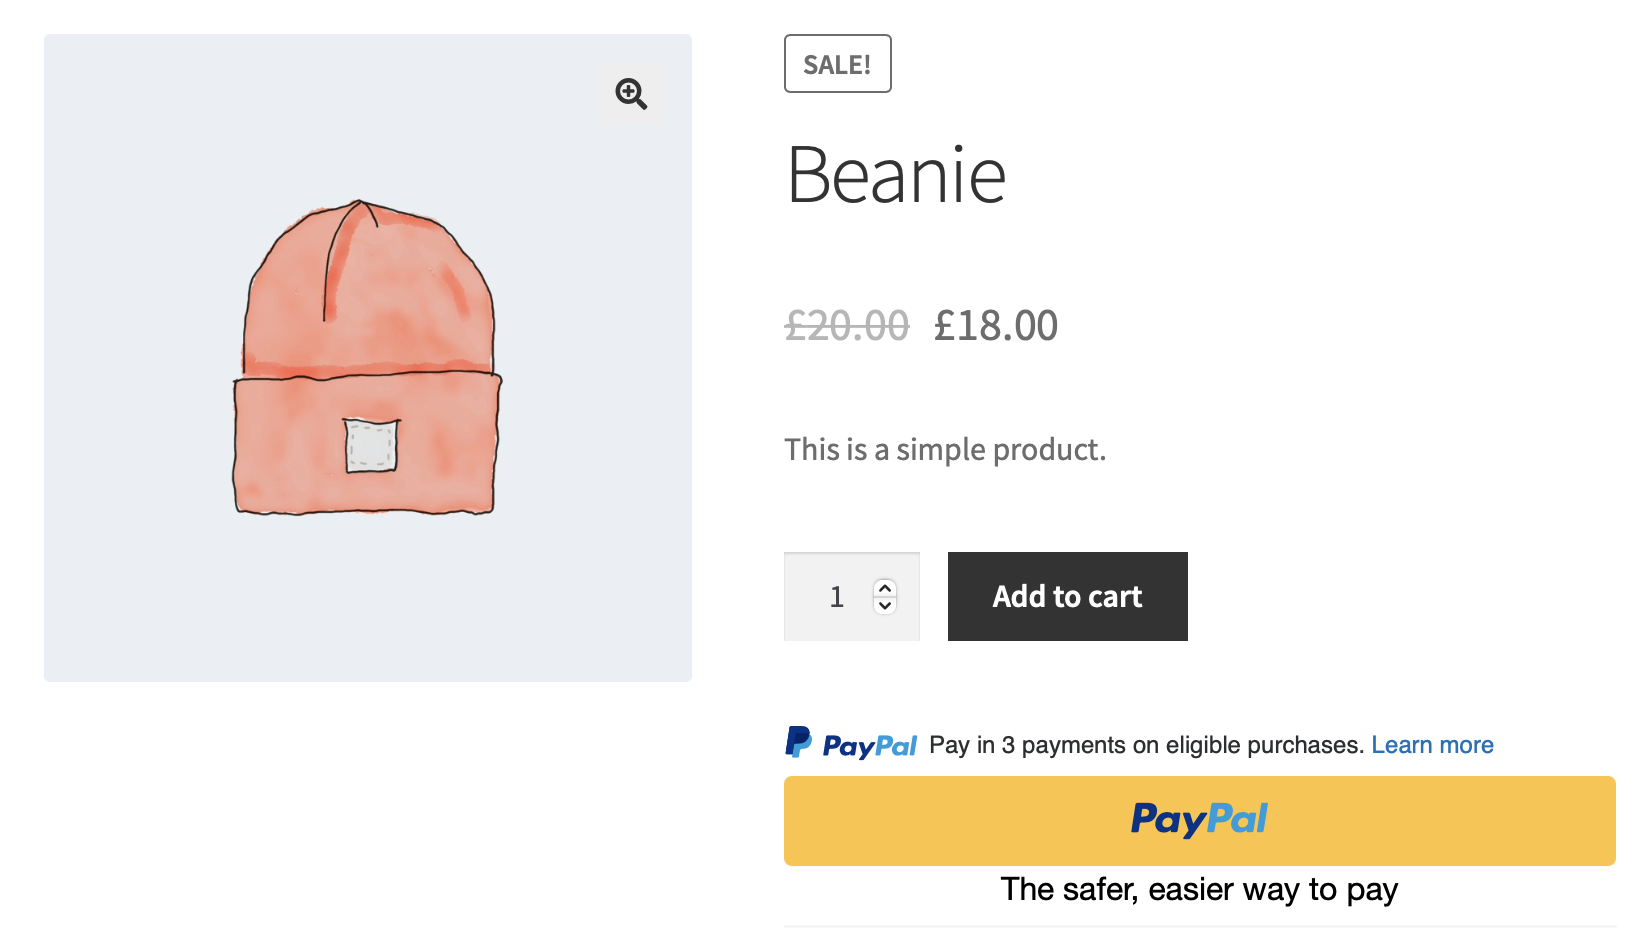
If you navigate to a product in your store, you can see that you can pay for the product directly or add it to your cart and checkout later.
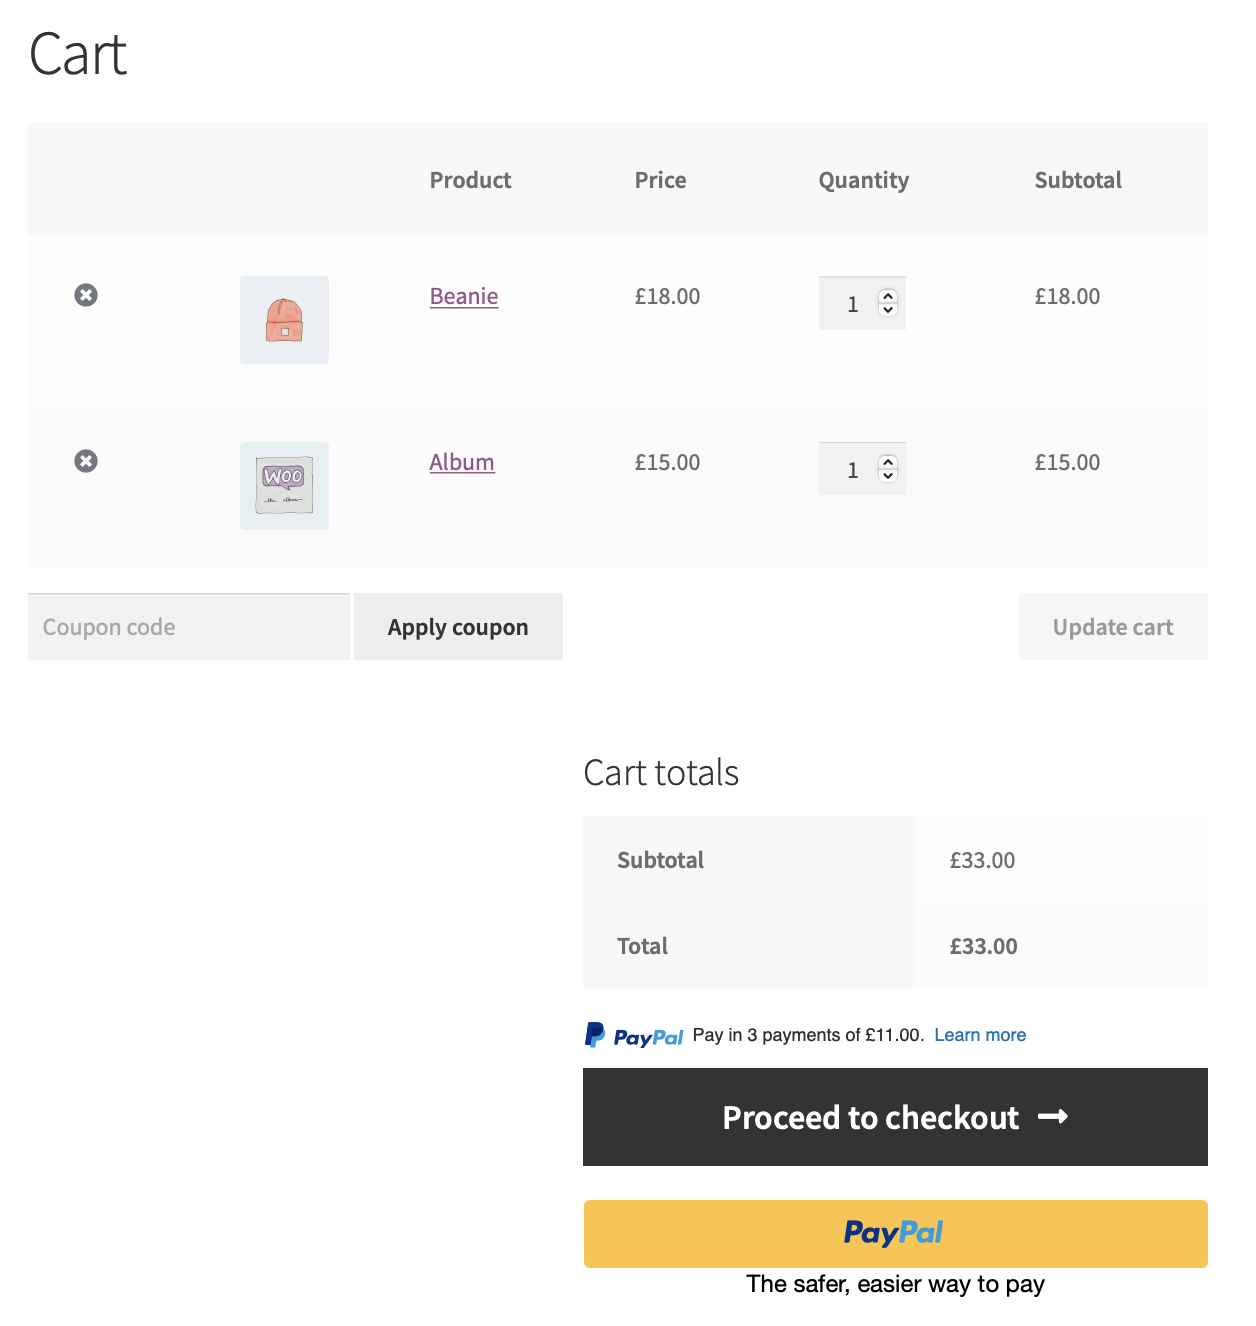
In the cart you can see that the PayPal button is also present.
As you can see, enabling PayPal for payments is easy. It’s a well-known company and can help your customers trust your business and be more confident to buy.
3.2 Stripe
Stripe is a simple way to accept payments online. Stripe has no setup fees, no monthly fees, and no hidden costs. Hundreds of thousands of businesses—ranging from startups to Fortune 500 companies—rely on Stripe’s software tools to securely accept payments and expand globally. I will show you how easy it is to set it up in your WooCommerce store.
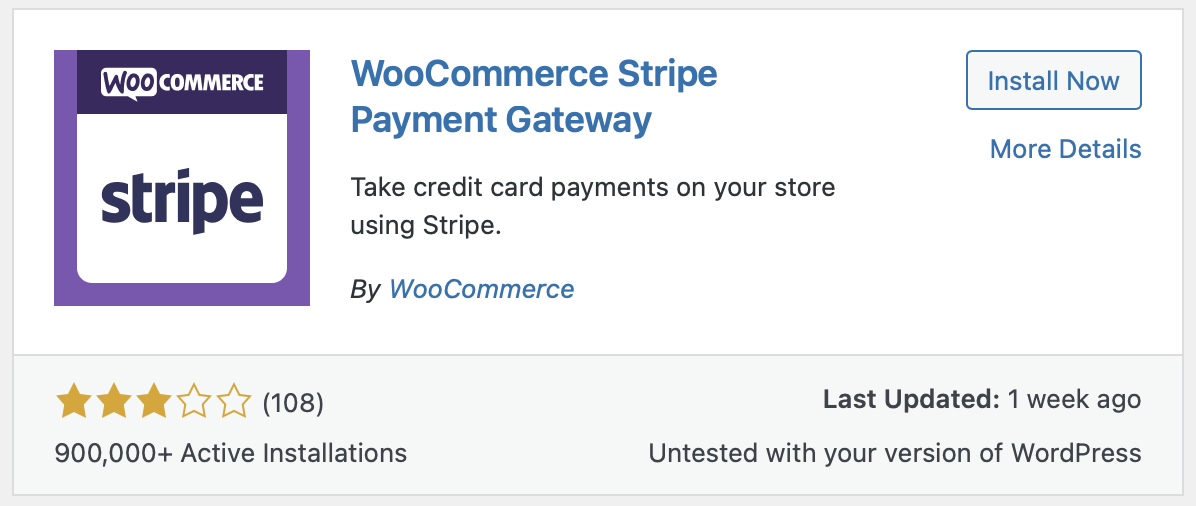
From the Dashboard menu, select Plugins->Add New, and search for “WooCommerce Stripe Payment Gateway”, click on Install Now, then Activate it.
Once the plugin is installed you can enable it as a Payment Gateway for your store.

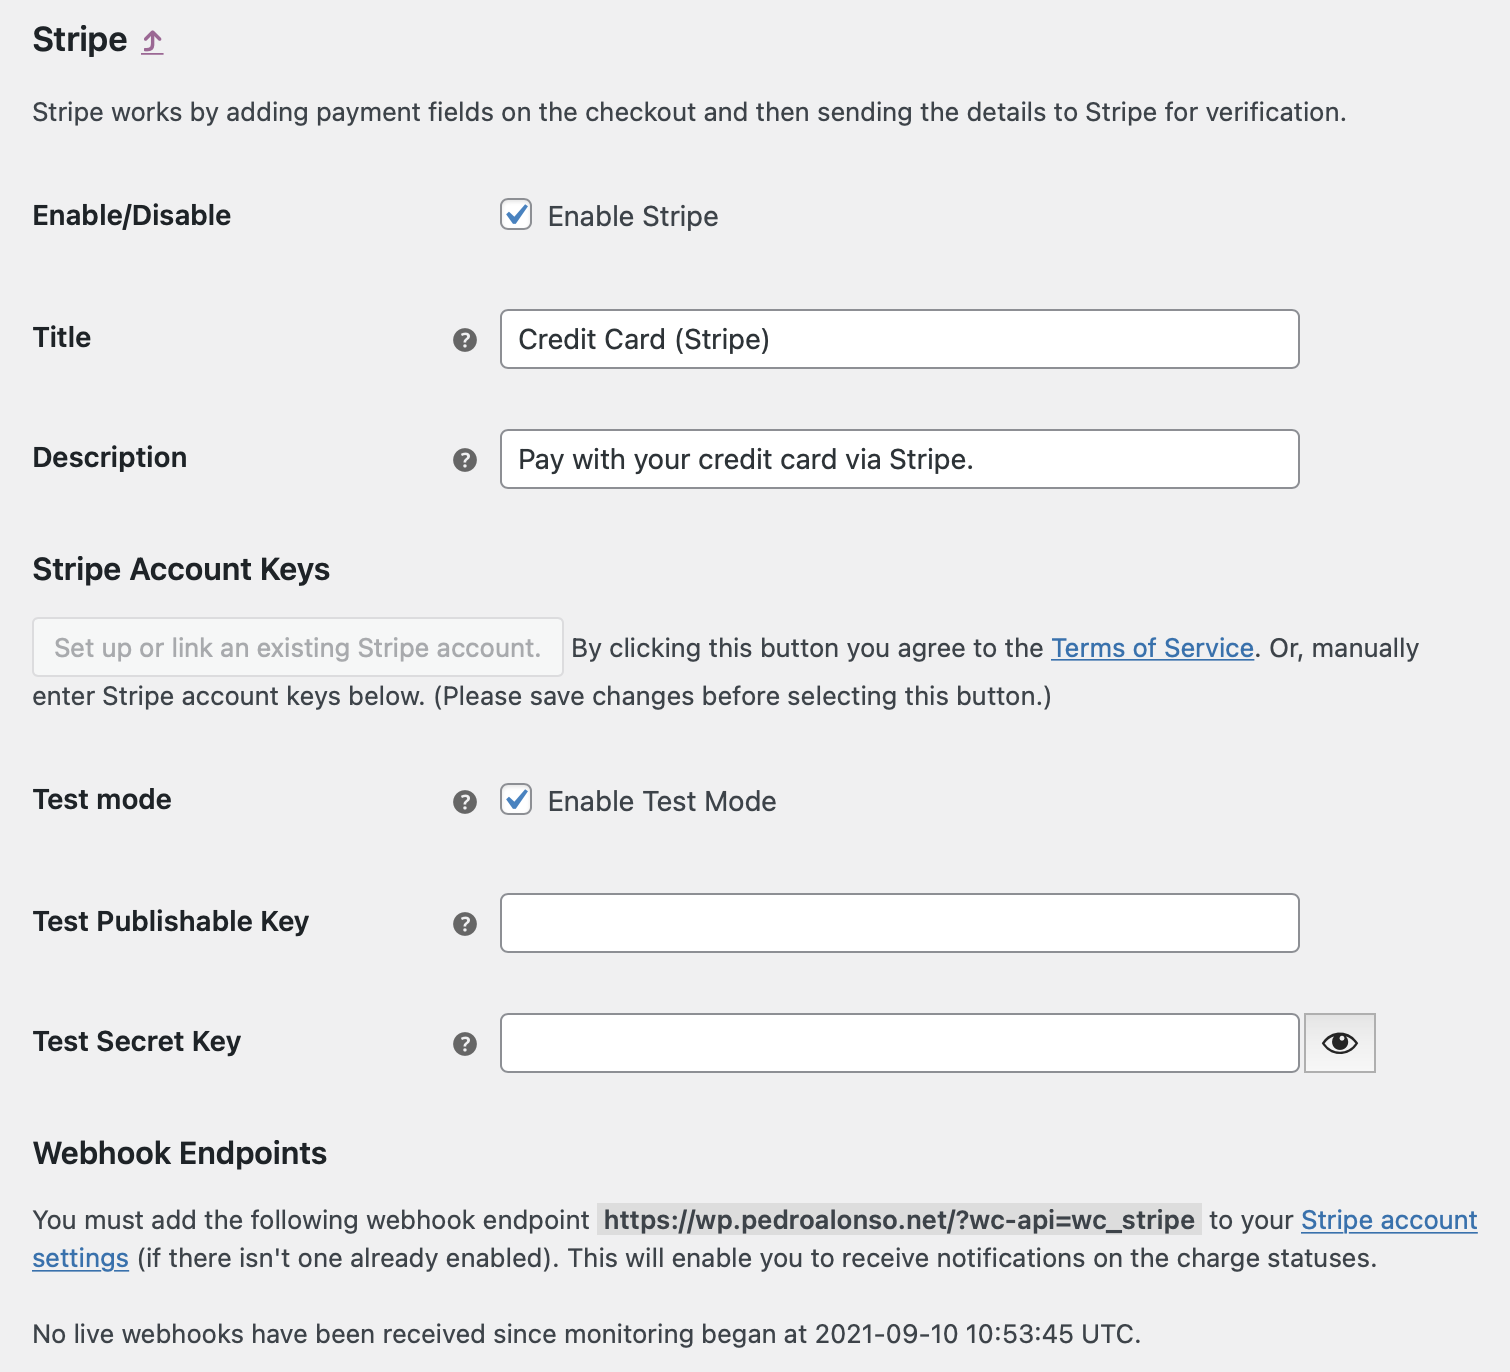
After installing and activating the plugin, navigate to your WooCommerce Settings and select the Payments tab. Here, you will need to enter your Stripe Publishable Key and Secret Key for your Test or Live environment. You can retrieve these from your Stripe Dashboard.
You can also set up webhooks to ensure Stripe can communicate with your WooCommerce installation. This functionality is handy as you can get feedback on the state of each order’s payment. So you can fulfil and send those that have been paid successfully.
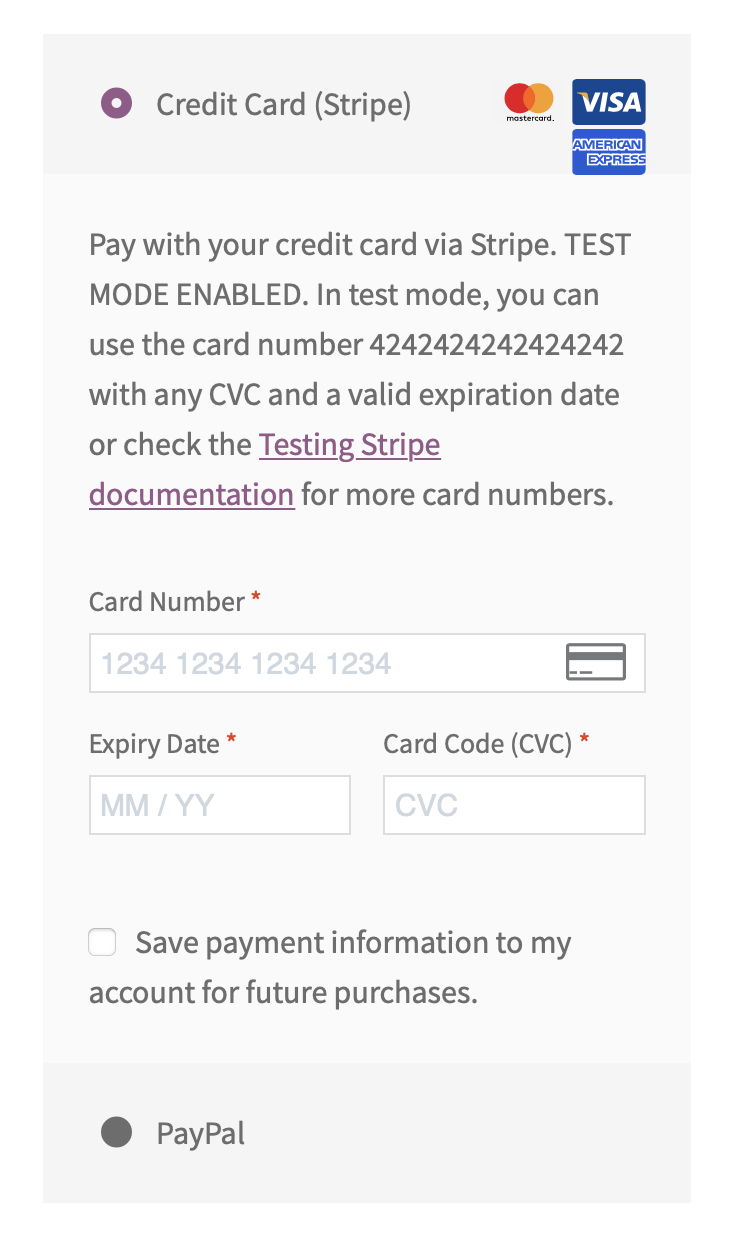
After entering your Stripe keys, you can visit your store front-end, add products to your cart, and checkout. You will see that you can now pay using a credit card and Stripe checkout directly.
As you can see, it’s also straightforward to set up credit card payments for your store using Stripe. If you want to use another payment gateway provider, it probably will be similar to setup. As you can see, it’s pretty easy if a plugin is available. Otherwise, it would require custom plugin development, which involves a lot more work.
4. Additional Plugins
The number of plugins available for WooCommerce can be counted in the thousands. But here are a few of them that might be very useful for your store:
Analytics: Google Analytics plugin for WordPress. It tracks your WooCommerce visitor’s online behaviour and provides you with detailed reports on exactly how they’re interacting with your online store.
Multilingual: If you have customers from multiple countries, WooCommerce Multilingual makes it possible to run fully multilingual e-commerce.
Marketing: OptinMonster is the most powerful conversion optimization software in the market. It helps you convert abandoning website visitors into subscribers and customers. While the main website doesn’t show the free plan, you can get the free version of OptinMonster by installing and activating their WordPress plugin. Inside the plugin, you will see the option to create your free account.
EU VAT Compliance: EU/UK VAT Compliance Assistant for WooCommerce plugin provides features to assist with EU and UK VAT law compliance.
5. Conclusion
Setting up an online store with WordPress and WooCommerce is a straightforward process that offers a many customization options. Whether you’re selling physical products, digital downloads, or even bundled offerings, WooCommerce provides the flexibility and features you need to create a successful ecommerce site.
The key is to start with a solid foundation by choosing the right hosting, installing WordPress and WooCommerce, and configuring your basic settings. From there, you can dive into adding and optimizing your products, setting up payment gateways, and exploring the wide range of extensions and plugins available to enhance your store’s functionality.
By following the steps outlined in this guide, you’ll be well on your way to launching your own online store and start selling to customers around the world. And remember, you’re not limited to just products – you can also use your WooCommerce site to offer consulting services, bookings, memberships, and more.
Your next step? Put this guide into action and set up your WooCommerce store today! If you run into any questions or roadblocks, don’t hesitate to reach out for help. The WordPress and WooCommerce communities are incredibly active and supportive.
I’d love to hear about your experience building your online store, as well as any additional tips or lessons learned you’d like to share. Leave a comment below and let’s keep the conversation going!
6. Frequently Asked Questions
How much does it cost to set up a WooCommerce store?
The base cost is quite low, as WordPress and WooCommerce are both free, open-source software. However, you’ll need to factor in costs for hosting, a domain name, any premium themes or plugins, and payment processing fees. Depending on your specific needs and preferences, you could get started for less than $100.
Do I need a special theme for WooCommerce?
While you don’t necessarily need a WooCommerce-specific theme, it’s recommended to use a theme that’s well-suited for ecommerce. The default Storefront theme is free and offers solid ecommerce functionality, but there are also many other themes available, both free and paid.
How do I choose the right payment gateway?
The best payment gateway will depend on factors like your location, your customers’ preferences, and the fees involved. Generally, it’s a good idea to offer a few different options like PayPal, Stripe, and direct bank transfers to cater to different needs. Be sure to research the fees and requirements for each gateway before committing.
Can I sell services or bookings with WooCommerce?
Yes! While WooCommerce is primarily designed for products, you can use extensions like WooCommerce Bookings or WooCommerce Appointments to sell services, bookings, and other time-based offerings. There are also extensions for selling memberships, subscriptions, and more.
How can I drive traffic to my new WooCommerce store?
Driving traffic to a new store can take some time and effort, but there are many strategies you can use. Start by optimizing your site for search engines, creating valuable content to attract organic traffic, and promoting your store on social media and relevant online communities. You can also explore paid advertising options like Google Shopping ads or Facebook ads to get your products in front of potential customers.